Commercial Photography: Free Stock Photos for Photographers, Bloggers, and Designers
Select the button below any image below to view a free, downloadable stock image of boats and ships for free commercial photography use on your website, blog, print or digital media, or other project.
‘Vendetta,’ a fishing vessel docked in Picton, New Zealand
All images are property of Mod Fam Global LLC and offered for private and commercial use, free of charge. Please credit Mod Fam Global, LLC, https://modfam.global/ for any public, online, or print materials using our images.
Send us a Note
If you use any of our free boat and ship commercial photography stock images for online or commercial use, please send us a note and let us know how you used the photos. We love to see how our photography is being used, and we appreciate photo credit and links back to our site.
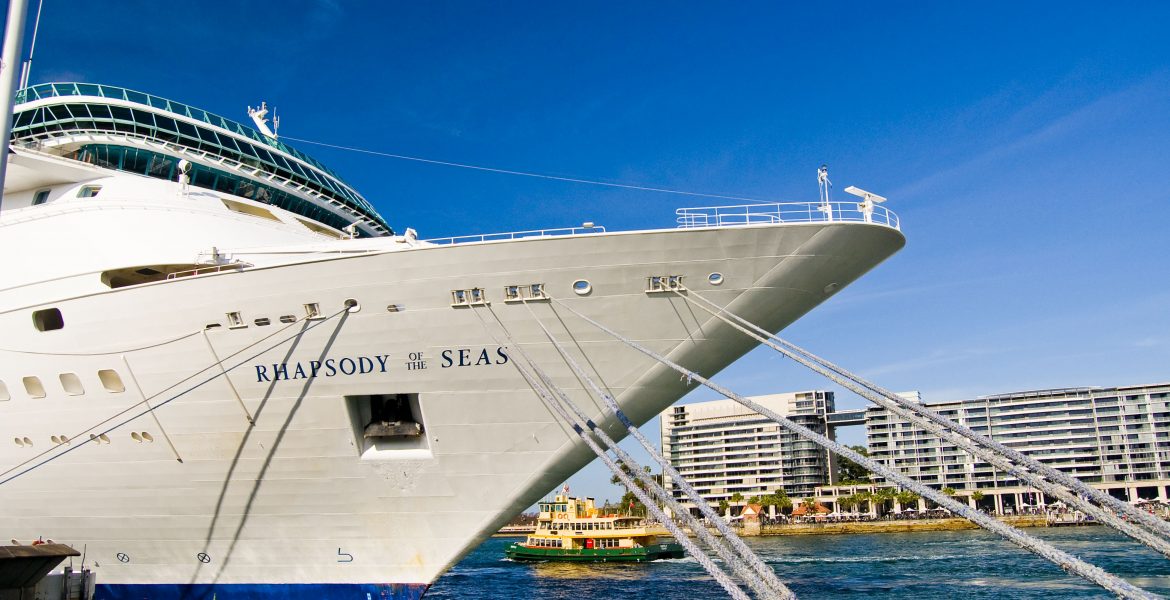
‘Rhapsody of the Seas,’ docked in Sydney, Australia
Navigable waterways are just about everywhere. From inland lakes, rivers, reservoirs, and canals to ocean waterways, inlets, and coves, finding boats to photograph should be relatively easy. If you’re not familiar with local waterways, look for recreational sites, industrial shipping areas, or commercial boating outfitters. In our state, fishing boats, kayaks, canoes, and inland shipping are common. In fact, Idaho has the furthest inland shipping port in Lewiston, Idaho. Regardless of where you live, though, you’re never too far from nearby waterways and all the personal and commercial vehicles that transport people and goods from place to place.
‘Rhapsody of the Seas,’ docked in Sydney, Australia
ISO can be a powerful tool when used to capture the type of shot you want to create. High ISO means greater sensitivity to light exposure on film or your digital sensor. Using a high ISO will allow you to take a photo in lower light, but also comes with more visual “noise” and grain. That can be used for certain artistic effect. But if you’re trying to get a crisp, clear image, higher ISO may degrade the quality of your image. Low ISO means less sensitivity to light. Using a low ISO will reduce grain and visual noise, but it will take longer to expose your image. So low ISO is great for bright, full light, whereas high ISO is better for low light conditions or for a grainy visual effect.
D-SLR manufacturers have exponentially increased ISO range compared with traditional film cameras. That also means that the quality of images at much higher ISOs has gone up significantly. Grain and noise are likewise reduced when using ISOs greater than ISO2000. However, I still prefer to select the lowest ISO possible, depending on light conditions.
Aperture works together with shutter speed to expose an image on film or digital sensor. ISO is a third manual factor to consider, but plays a lesser role than aperture and shutter speed. Aperture refers to the size of the opening in the lens that allows light into the camera. The aperture or “f-stop” gets wider as the number gets smaller. So an f-stop setting of f4.5 or f5.6 gives you a very wide aperture, allowing a lot of light in quickly. Alternatively, an f-stop of f22 is a very small aperture, letting very little light in.
Aperture also affects the depth of field. An f-stop of f4.5 will give you a narrow depth of field, blurring out most of the foreground and background. Almost the entire frame will be in focus at a higher f-stop like f22, for example. For boat and ship photos, start with a medium- to low f-stop setting around f9 or f7.1. This will give you enough depth of field to focus on some of the boat, and allow plenty of light in fairly quickly.
Shutter speed is the other half of the equation when adjusting your manual settings. Combined with aperture, your shutter speed will balance the light exposed on film or digital sensor. In full light, with an ISO around ISO640 and an aperture of f7.1, start with a shutter speed around 1/250 or 1/500 of a second to test the light. Then, adjust the speed up or down, depending on the exposure of the image. You can use a light meter to figure out a more precise balance, or your camera’s automatic settings to gauge an average. But keep in mind that auto settings and light meters will average the light in the entire frame, giving you a setting that balances all of the highlights and shadows.
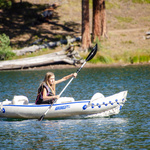
Idaho’s Redfish Lake, in the Sawtooth National Recreation Area
The beauty of manually adjusting your settings is that you choose what details you want to highlight or obscure, based on the amount of light exposed. An average of the images above would darken the shadows and hide most of the detail on the dark side of the boat. I slowed the shutter speed to reveal as much detail as possible without blowing out the sunny highlights. In the image below, I used a similar effect to reveal detail in the shadows and in the water’s reflection. You can see the brightly-lit top of the boat is overexposed, but an average, auto setting would have sped up the shutter speed. This would darken the shadows so much that you wouldn’t see much at all in the reflection or alongside the boat.
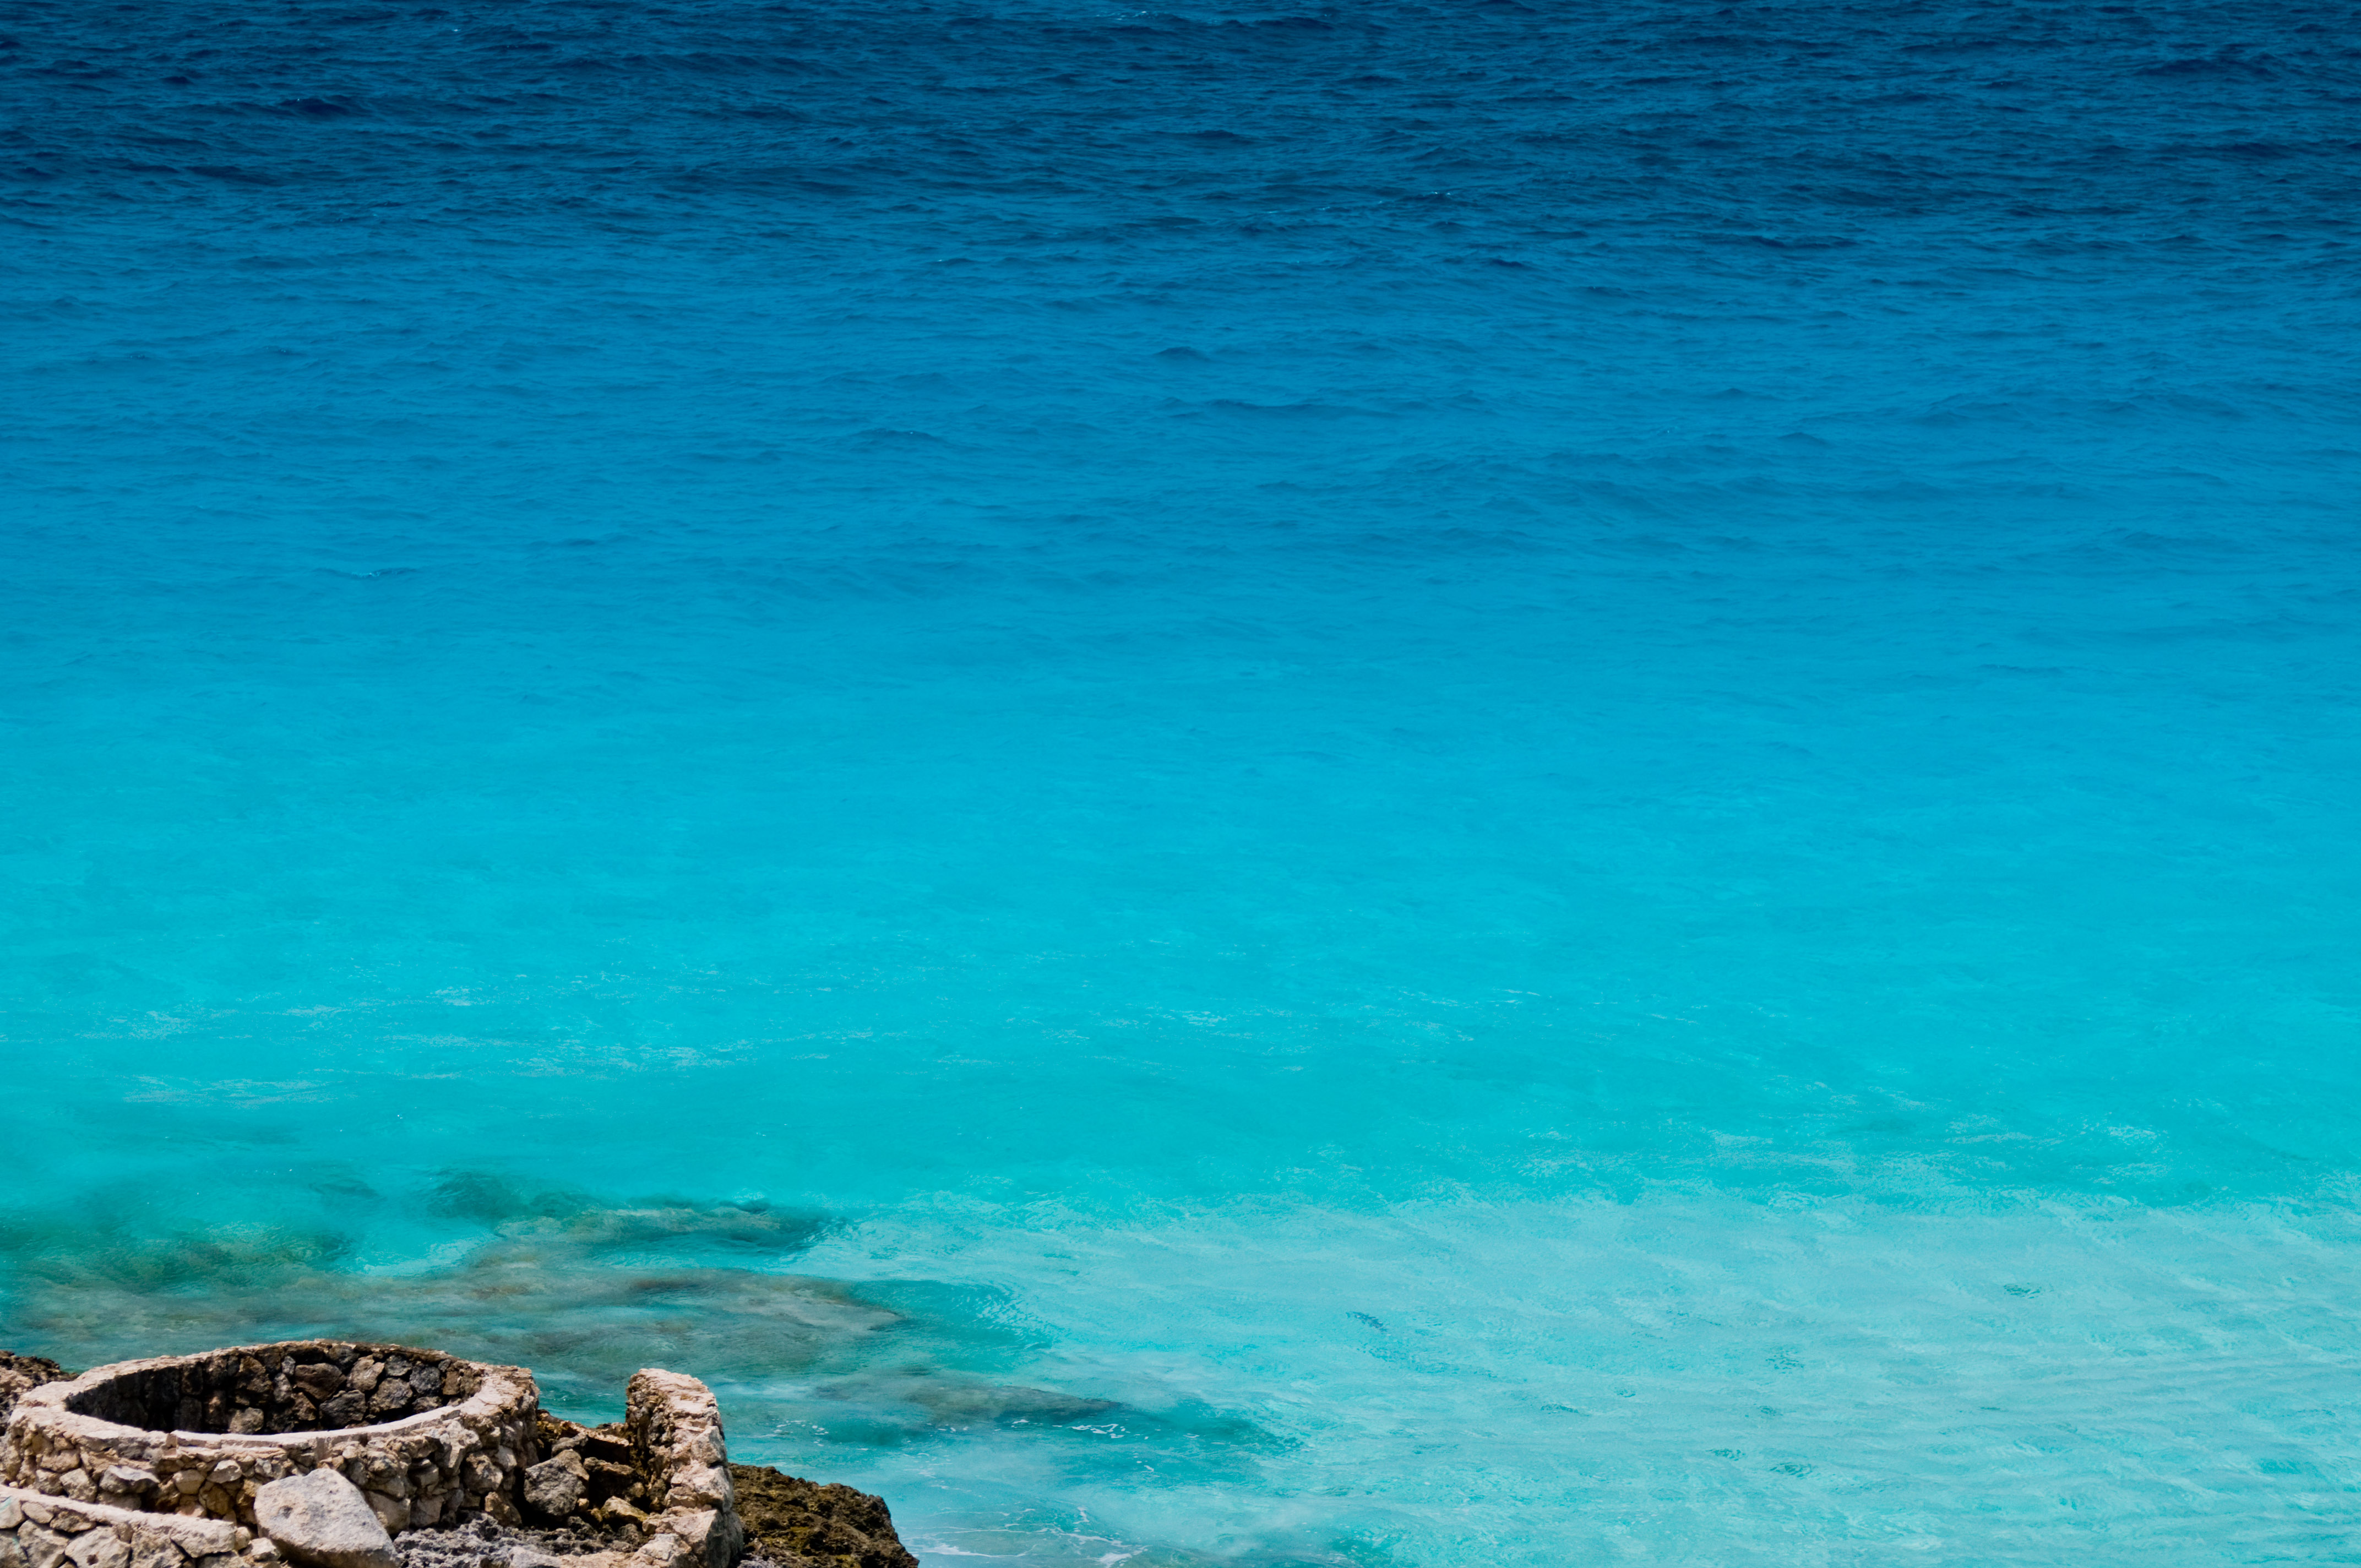
If you only bring along one piece of gear (other than the camera body and lenses, of course), make it a polarizing filter. A polarizing filter can remove polarized light from the sky or on reflective surfaces. This will darken the sky in your photos or eliminate glare and reflection on water or glass. On the other hand, you can rotate a polarizer to maximize reflection in the water for a different result and effect.
Compare and Contrast – With or Without a Polarizer
Compare the images below from San Diego, California and Moeraki, New Zealand. I did not use a polarizing filter for the San Diego shots, partly because of the overcast, diffused light conditions. For the Moeraki photos, though, you can see deep green and blue colors that I emphasized by rotating my polarizing filter and reducing glare. The difference in photo is partly a result of diffused v. direct light conditions. But the polarizing filter at Moeraki created striking colors by reducing polarized light and glare in the images.