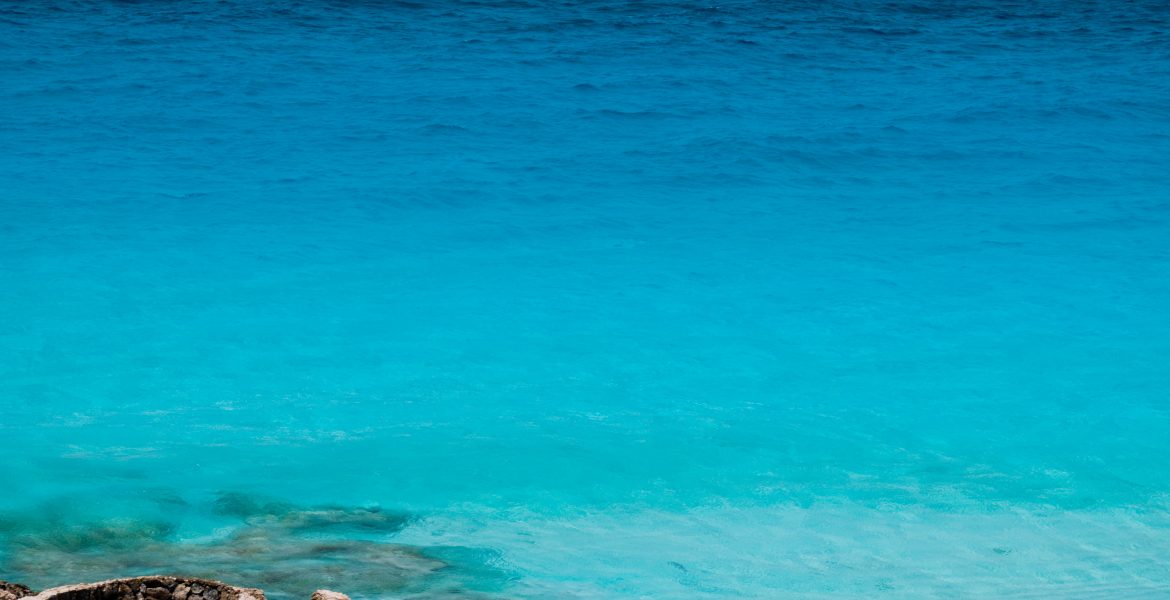
Water Background – Website Background Images
Free Stock PhotosContents of this Post
Water Background: Free Website Background Stock Photos for Photographers, Bloggers, and Designers
Select the button below any image below to view a free, downloadable water background stock image for free use on your website, blog, print or digital media, or other project.
Copyright and Credit: Water Background Images
How to Credit
All water background stock images are property of Mod Fam Global LLC and offered for private and commercial use, free of charge. Please credit Mod Fam Global, LLC, https://modfam.global/ for any public, online, or print materials using our images.
Send us a Note
If you use any of our free water background stock images for online or commercial use, please send us a note and let us know how you used the photos. We love to see how our photography is being used, and we appreciate photo credit and links back to our site.
Water Background Photography Tutorial
Manual Settings – Aperture
Aperture, or “f-stop,” refers to the size of the lens opening that lets light in, exposing your film or digital sensor. Aperture also controls your depth of field, or what is in focus. As aperture opens up, the f-stop number goes down. So that means that if you start with f22, you have a very small aperture opening. Moving down to f4.5, the aperture opens up to a very large opening, letting more light in. Focus area or depth of field is more related to the numbers. At f22, for example, most or all of the frame will be in focus, so it’s a wide depth of field. At f4.5, you’ll have a very narrow depth of field or focus area. For photos of water reflections, use a smaller aperture (larger numbered f-stop) so that more of the image is in focus.
Recommended Aperture
I suggest starting around f16 or f22 in bright light to create images like these reflections. Light conditions will affect this setting, but it works together with ISO and shutter speed (see below) to balance the light exposing your image. You can use a smaller f-stop (wider aperture), but that will narrow your focus to just one area of the photo. In some photos, like the fountain photos, a wider aperture creates a nice blurred bokeh effect. That means the foreground and background are blurred. Select an aperture based on the type of image you want to create.
Manual Settings – Shutter Speed
Shutter speed works together with aperture and ISO to balance the amount of light exposing your photo. In full, bright light, even at f16 or smaller, you can probably hand hold the camera with a shutter speed around 1/100 of a second or faster. If you’re not sure where to start, use a light meter or your camera’s auto settings to get an “average” setting for your light conditions. The auto settings will average all of the light in the frame, but you can start with that and adjust from there.
Adjusting Shutter Speed
Is your image too dark? Slow your shutter speed a bit. Is your image blown out and too bright? Speed up your shutter to let less light in. In the end, though, this is your image, so use your settings to compensate and control the light coming in to the camera for the type of image you want to create.
Recommended Gear – Polarizing Filter
A high-quality polarizing filter is an essential piece of camera gear that I never leave home without. A rotating polarizer eliminates polarized light in the sky and reflective surfaces like glass and water. By rotating the filter on the lens, you can cut through reflections to see through water, darken skies, or bring out the deep colors of water and sky. Alternatively, you can use the polarizing filter to maximize reflection for artistic effect. A polarizing filter will reduce the amount of light coming in to expose the image, so you’ll have to adjust your shutter speed, aperture, ISO, or a combination of the three. Usually, just a couple f-stops or a slight shutter speed adjustment will do the trick. But for the best water photos, don’t forget the polarizing filter!


