Best Stock Photo Sites – Birds
Free Stock PhotosContents of this Post
Best Stock Photo Sites: Free Stock Photos for Photographers, Bloggers, and Designers
Click on the button below any image below to view a free, downloadable stock image for free use on your website, blog, print or digital media, or other project.


Copyright and Credit
How to Credit
All images are property of Mod Fam Global LLC and offered for private and commercial use, free of charge. Please credit Mod Fam Global, LLC, https://modfam.global/ for any public, online, or print materials using our images.
Send us a Note
If you use any of our free fire background stock images for online or commercial use, please send us a note and let us know how you used the photos. We love to see how our photography is being used, and we appreciate photo credit and links back to our site.


How to Photograph Birds
Manual Settings – ISO
Birds move quickly, and do not sit motionless for very long. Even with great light conditions, you’ll want to adjust your ISO and other camera settings for very fast speeds to minimize motion and blur. Try starting with ISO800 to 2,000 and adjust from there. Whenever possible, I prefer lower ISO, because the image is more crisp and has less visual noise and grain in the final shot. Under low light conditions, though, a higher ISO is unavoidable. D-SLR cameras have come a long way in reducing visual noise and the grain in images at much higher ISOs than traditional film. Ideally, though, I like to use ISO settings as low as ISO400 or 320 for the clearest bird images.


Manual Settings – Aperture
The second setting to consider when photographing birds is your aperture. Remember that the smaller the aperture (f4.5, f5.6), the larger the opening and shallower depth of field. The image below, with a shallow depth of field, has an aperture setting around f5.6. Using a telephoto lens at around 300mm, this aperture setting creates the blurred background, while ensuring that the entire bird is in focus. Be careful not to open your aperture too much, though, because it’s easy to narrow the depth of field so much that parts of the bird are out of focus.
Manual Settings – Macro Photography
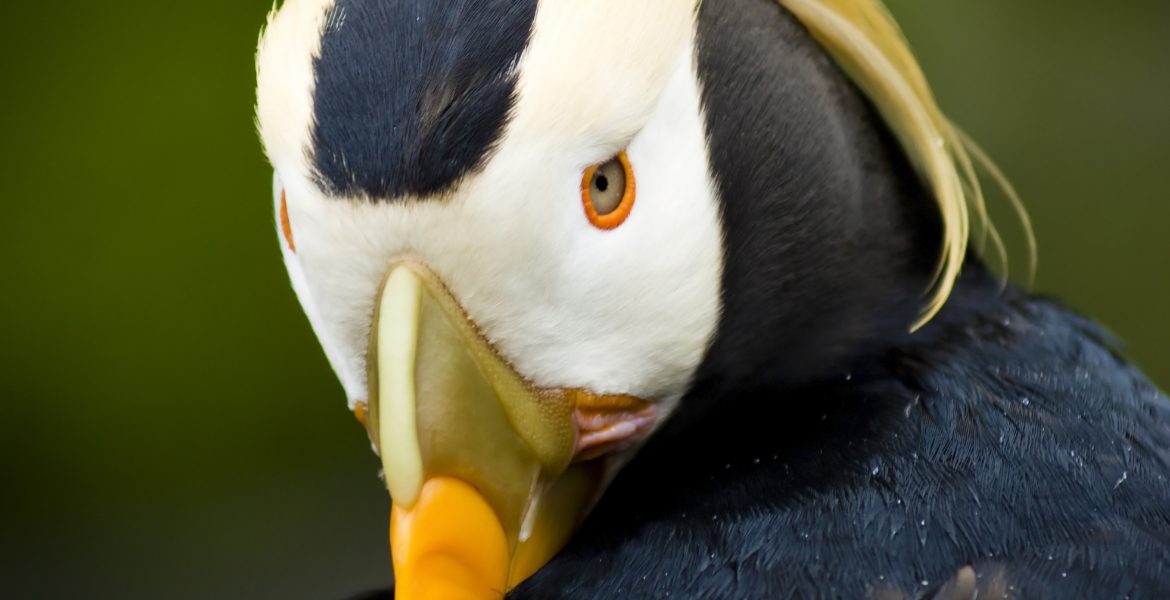
If you are shooting macro photography or trying to capture a close-up of a bird’s eye or feathers, you may want to create that effect, as I did with the images above. But for a photo like the pigeon below, a balance of a lower aperture around f7.1 (with a wider opening and narrow depth of field) will give you a clear, crisp image of the bird with a nicely blurred background, or bokeh.


Manual Settings – Shutter Speed
When photographing birds, your shutter speed is another of the three factors that control the amount of light exposing the image, and how quickly the shutter opens and shuts. Too slow, and the image will be washed out and overexposed. Too fast, and the image will be dark and lose much of the visual detail of an evenly exposed image. The type of image you are trying to create will also impact your settings and shutter speed. If you are trying to create a dark, moody image and expose for the brightest part of a bird’s wing, you might speed up the shutter speed. If you want to create a bright, lively image and blow out the background a bit to frame your subject, you can slow the shutter speed a bit.


