Building Background: Contemporary, International Style, and Futurist Architecture Stock Photos
Free Stock PhotosContents of this Post
Building Background: Free Stock Photos for Photographers, Bloggers, and Designers
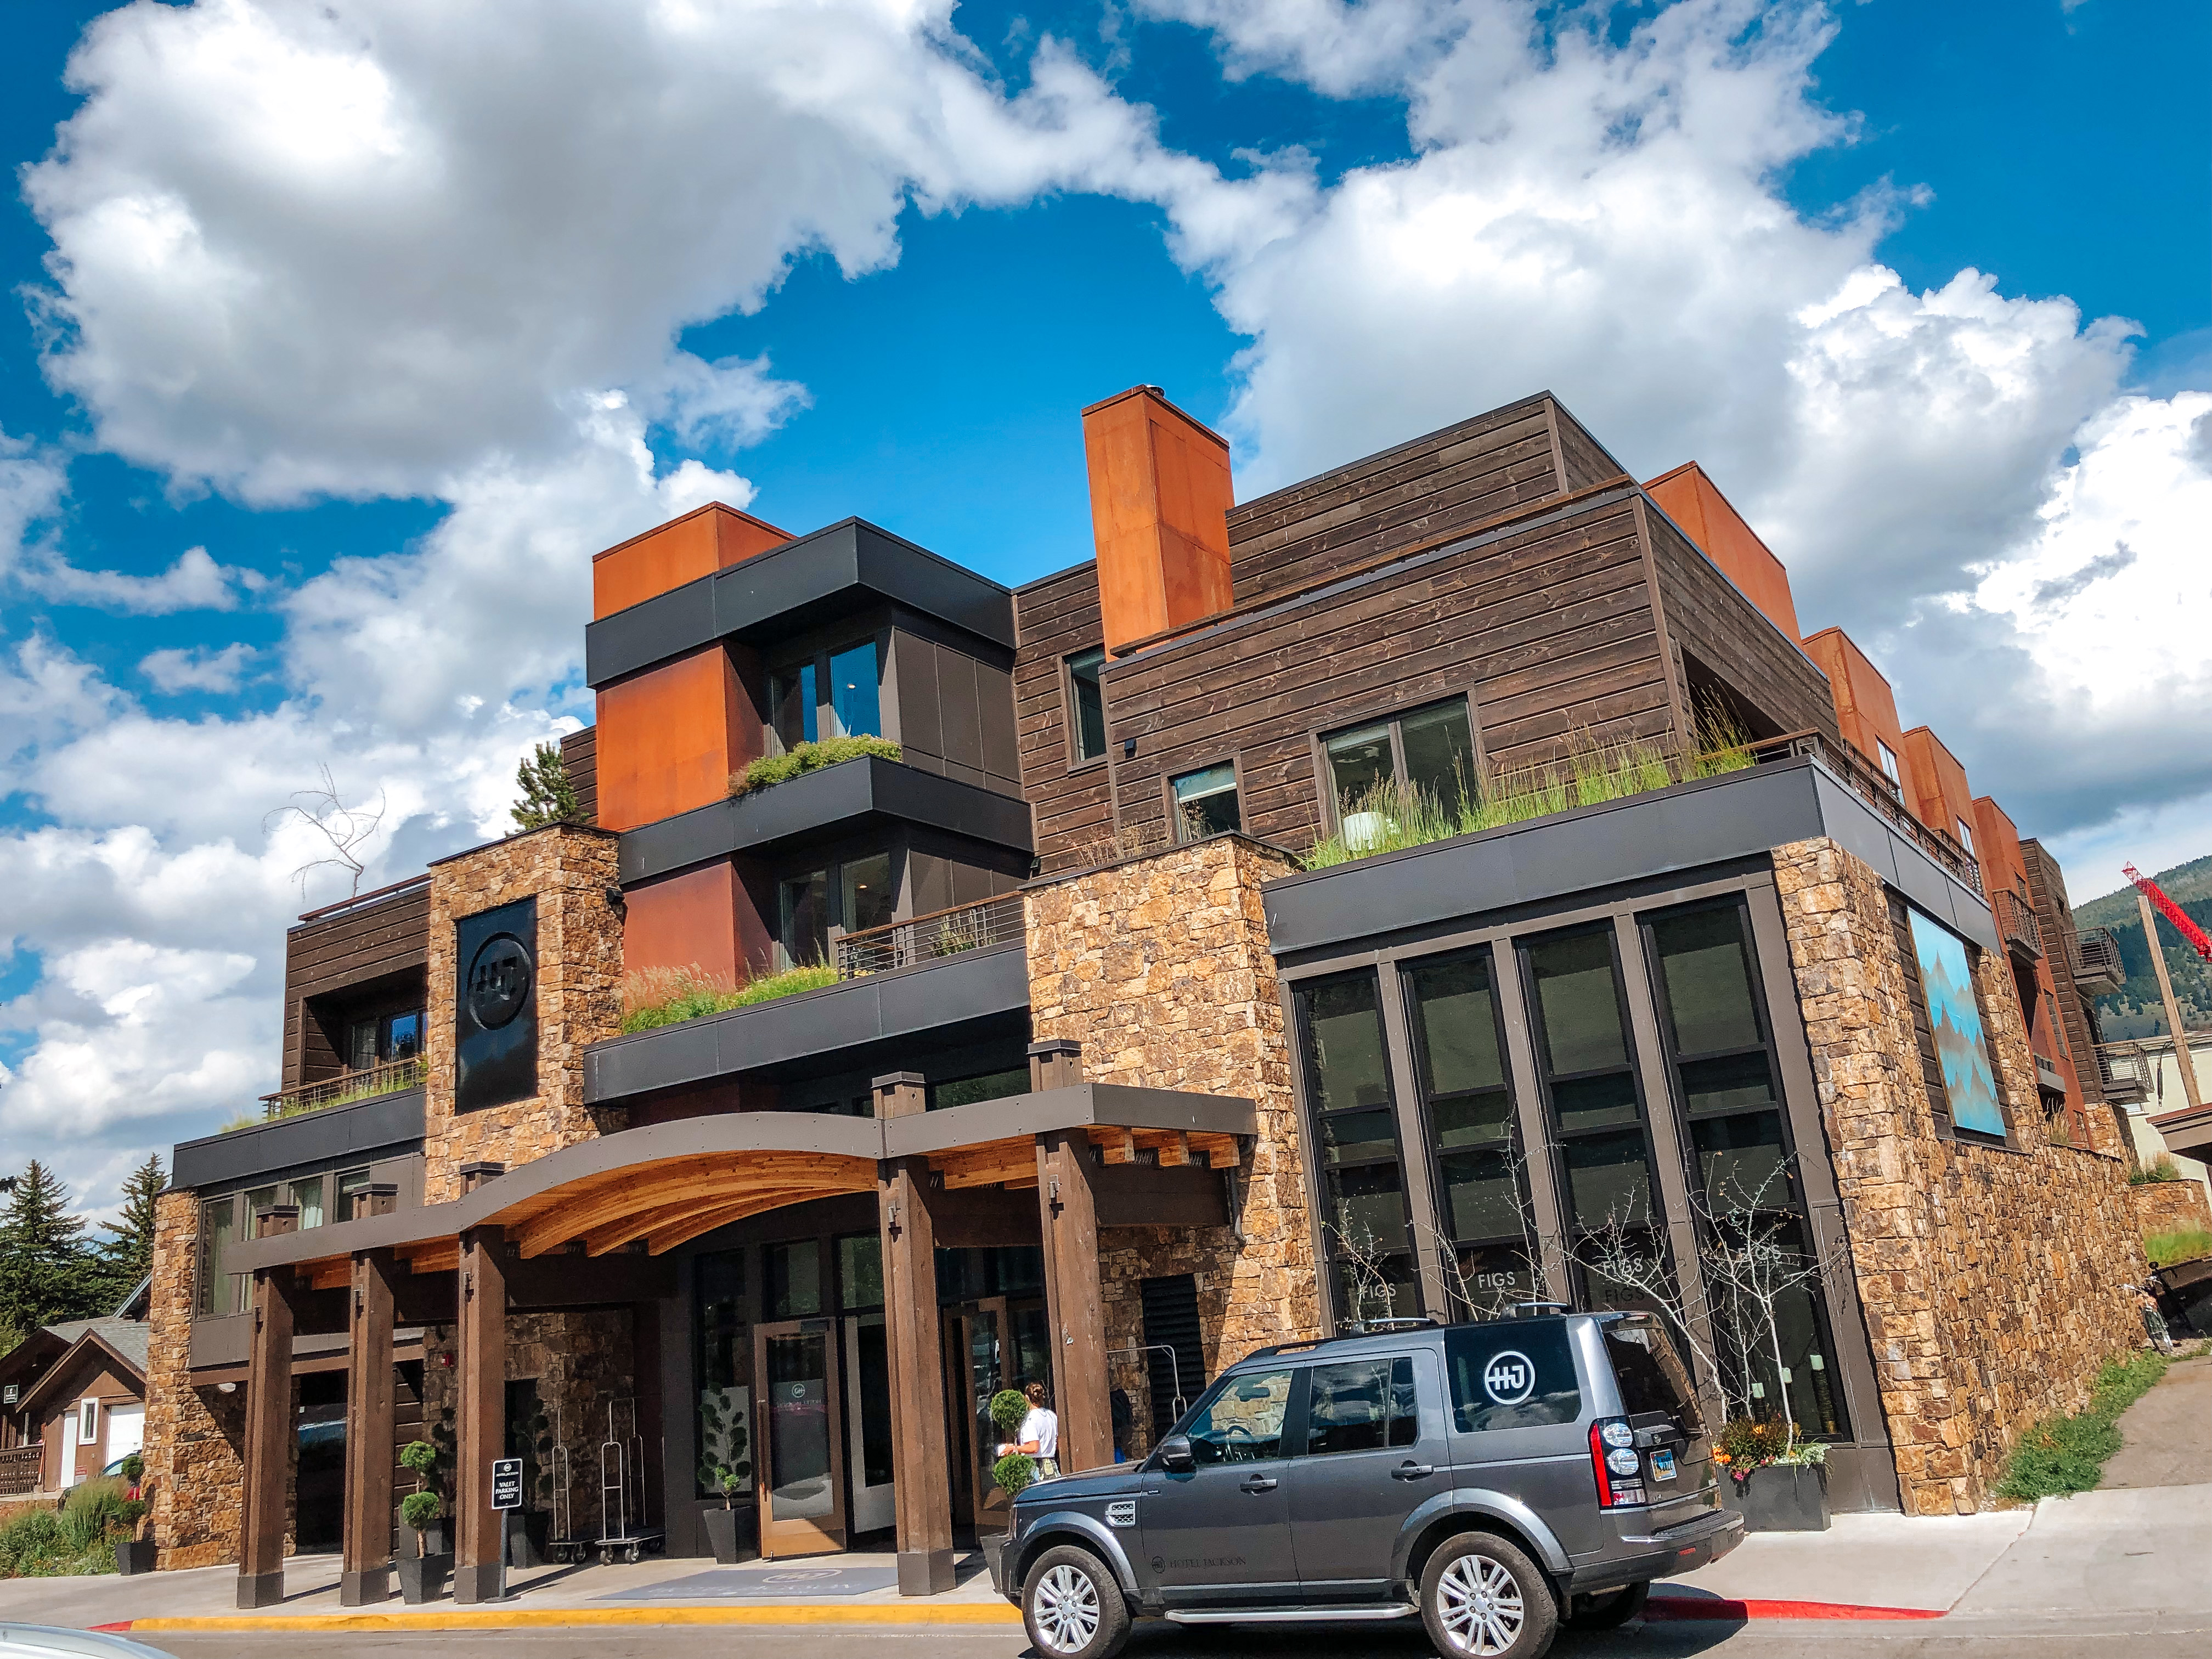
Click the button below any image below to view a free, downloadable stock image for free use on your website, blog, print or digital media, or other project.
Copyright and Credit: Building Background Stock Images
How to Credit
All building background images are property of Mod Fam Global LLC and offered for private and commercial use, free of charge. Please credit Mod Fam Global, LLC, https://modfam.global/ for any public, online, or print materials using our images.
Send us a Note
If you use any of our free building background stock images for online or commercial use, please send us a note and let us know how you used the photos. We love to see how our photography is being used, and we appreciate photo credit and links back to our site.
Building Background: Contemporary, International Style, and Futuristic Architecture
Defining the Architectural Styles
Most cities today contain a dizzying blend of architectural styles that represent different periods of development and stylistic influences. Futurism, an early Twentieth-Century architectural style that began in Italy, uses building lines and structures to convey motion, speed, and a concept of the future. Neo-futurism took these themes and built on them, adding an optimistic twist to the architectural concepts of futurism. International Style buildings emerged in the post-World War I period, and incorporate steel, glass, and towering structures to convey a similarly optimistic and hopeful view of contemporary society. This style related in some ways to modernist concepts, but also reflected a vision of social progress and development. Contemporary architecture in the Twenty-First Century builds off of earlier styles, but no one style predominates. Large-scale buildings may reflect post-modernist approaches to design or sculptural effects (such as the Guggenheim Museum in Bilbao, Spain or Sweden’s University of Gothenberg buildings).
Locating Futurist, International Style, and Contemporary Architecture
The quickest way to pinpoint specific buildings in your area, of course, is to search online. Searching your city or region with “Futurist,” “Neo-Futurist,” “International Style,” or “Contemporary Style” Architecture should pull up the best-known buildings. Some cities and municipalities maintain historical building registries. But many structures are either not listed or registered, or may not be indexed based on the style of their architecture. Another method is to go to the most developed city center, financial district, or historical area and walk, ride, run, or drive around a bit. By exploring different districts, you can look for buildings that share the tell-tale characteristics of each style. Exploring with camera in hand is also a great way to find new architectural styles that may contain elements of Contemporary and International Style or Futurist Architecture.
Photography Tutorial: How to Photograph Building Background Images
Manual Setting Basics
Buildings are fun and relatively easy to photography. Unlike taking photos of animal or human subjects, these subjects don’t move, giving you all the time you need to frame, compose, and take your photos. Light conditions shift and change, and movement in and around architecture will change. But photographing architecture is a great way to practice different manual camera settings and techniques. If you use a tripod, you can slow the speed of your image exposure, maximizing the crisp, rich, colorful photos you create, right out of the camera. Keep reading for specific recommendations regarding ISO, shutter speed, aperture, and various lenses, filters, and other gear we recommend for photographing Contemporary and International Style, Futurist, and Neo-Futurist Architecture.
Manual Settings: ISO
Higher ISO settings are great for action shots, moving subjects, low light condition, or artistic grain techniques. When you have the luxury of time and a tripod, though, a lower ISO will give you a cleaner, crisp image with vibrant colors. My goal is always to maximize the quality and style of my images in camera, so I have to do little or no post-processing. Using a tripod for architectural shots, you can shoot at ISO100 or ISO200, adjusting your other settings accordingly. Don’t have a tripod? In a hurry? Set your ISO a little higher, around ISO400 or ISO800 for hand held photos in medium to bright light. That should be plenty of light sensitivity to capture beautiful images while reducing blur or motion.
Manual Settings: Shutter Speed and Aperture Basics
Shutter speed and aperture (your f-stop) work together to balance the light of your exposure. Aperture controls how wide the lens opens, so the wider the aperture, the more light is exposed more quickly. Shutter speed controls how long the shutter opens, and you can manually set anything from a fraction of a second to full seconds, minutes, or even hours of exposure for star or extremely low light conditions. At a low ISO of ISO320 or ISO400, try combining an aperture of f7.1 or f9 with a shutter speed of 1/250 of a second. Depending on how much or how little light, you’ll have to adjust one or both settings a bit to get a balanced, averaged exposure.
Manual Settings: Recommended Shutter Speed and Aperture
F9 at 1/250 with ISO400 is a good starting point for daytime light. You can experiment with different light conditions or to create different effects. An automatic, averaged exposure of the image below, for example, would brighten the image so much that all the highlights would be blown out, but you would see more detail in the shadows. For a dramatic, moody image like this, I’ve reduced the aperture and sped up the shutter speed for less light exposure. The goal is to be comfortable adjusting your manual settings for a balanced image. Then, it’s up to you and your creativity to adjust from there, depending on what type of image you want to create.
Recommended Gear: Lenses, Filters, and More
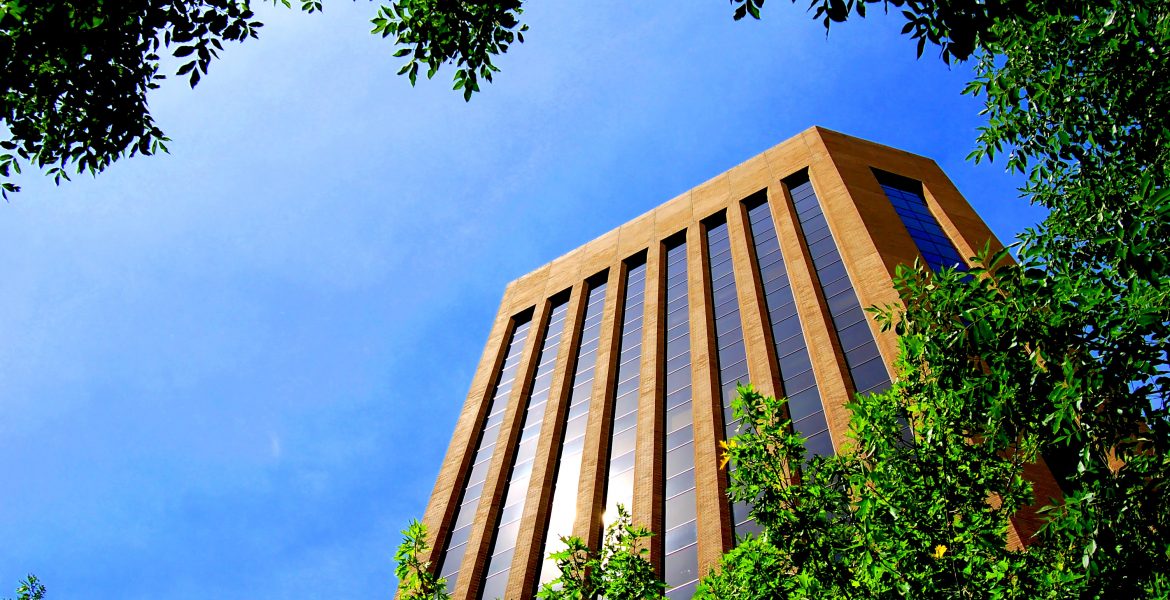
When taking photos of architecture, we recommend three essential gear items. First, a good tripod is useful for taking longer exposures or night photography. Second, a polarizing filter will darken skies and change reflections in windows and other reflective surfaces. A polarizer can be used to remove glare and reflection. It can also be used to maximize reflection when you want to capture something reflected in windows or other shiny surfaces. Third, a combination of wide-angle and telephoto lenses give you a wide variety for architectural images. We like to take sweeping wide-angle photos of entire buildings. But we also like to zoom in on detail and focus on smaller elements of the whole. Having a few lenses on hand will allow you to adapt to the buildings you find, and a tripod will stabilize your shots in any light.


