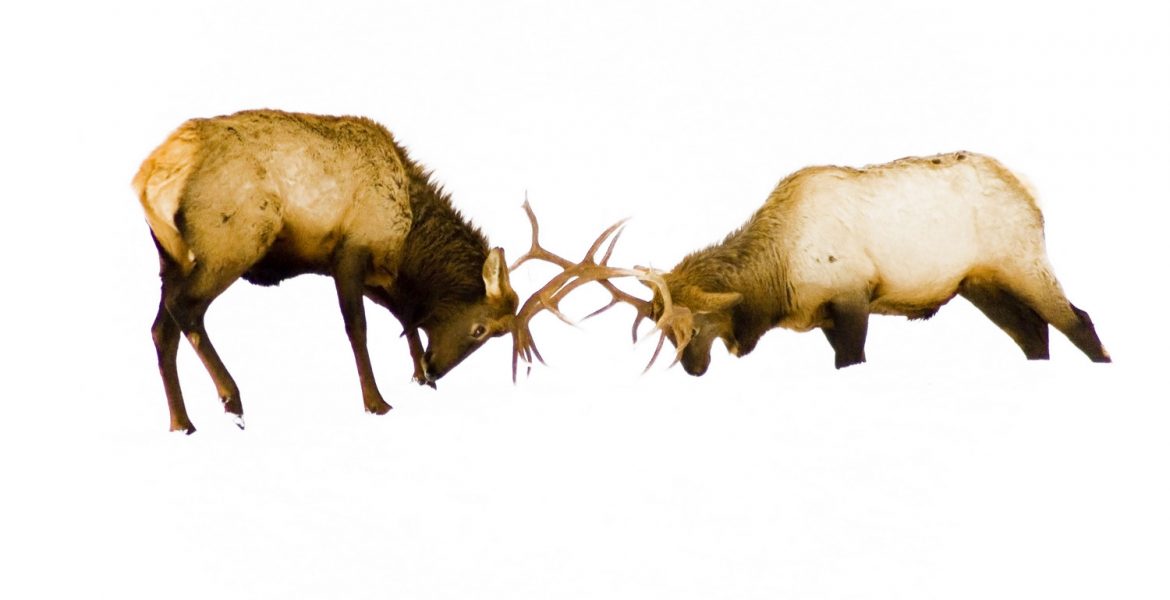
Cheap Stock Photos – Deer and Elk Images
Free Stock PhotosContents of this Post
Cheap Stock Photos: Free Stock Photos for Photographers, Bloggers, and Designers
Cheap Stock Photos. Click on the button below any image below to view a free, downloadable stock image for free use on your website, blog, print or digital media, or other project.
Copyright and Credit – Cheap Stock Photos
How to Credit
Cheap Stock Photos. All images are property of Mod Fam Global LLC and offered for private and commercial use, free of charge. Please credit Mod Fam Global, LLC, https://modfam.global/ for any public, online, or print materials using our images.
Send us a Note
If you use any of our free deer and elk stock photos for online or commercial use, please send us a note and let us know how you used the photos. We love to see how our photography is being used, and we appreciate photo credit and links back to our site.
How to Photograph Deer and Elk
Be at the Right Place at the Right Time
Photographing wild animals requires a combination of planning, good timing, and a lot of luck. But most of all, it’s about being in the right place at the right time. Fortunately for us, we live in a state with the most wilderness area in the lower 48 U.S. states, and we border several other states with vast expanses of wilderness and open country. We also love to hike, camp, and backpack. The combination of outdoor recreation and vast wilderness create the best possible conditions for encountering wild deer and elk. Many state fish and game operations maintain winter feeding stations for elk, and some states like Wyoming have elk and other game reserves where you can all but guarantee wildlife encounters.
Manual Settings – ISO
Capturing crisp images of deer and elk takes a bit of practice, especially with manual aperture (f-stop) and shutter speed settings. Unlike other subjects, wild animals move quickly and can be unpredictable, so it’s important to have your settings dialed in before you start shooting photos. When prepping for elk or deer photos, I usually start with manual settings around f8 or f9 and a shutter speed of about 1/1,000. I also begin with an ISO setting around ISO800 or higher, depending on light conditions. The higher the ISO, the more grain you will see in your images. With a higher ISO, though, you will be able to increase the shutter speed and capture less movement in the image.
Manual Settings – Shutter Speed and Aperture
I shoot everything manually, because I like to adjust the image in-camera for tone, light, and the particular look I am shooting. Automatic settings will provide you with a balance of shutter speed and aperture, averaged for the overall light in the frame, based on internal camera sensors. This is great for even light conditions, some landscapes, or for learning what combinations of shutter speed and aperture (f-stop) result in different photographs.
Manual Settings – Time to Experiment a Bit!
Once you start to get a feel for automatic combinations, try shooting manually, adjusting your shutter speed up or down to let in less or more light. Alternatively, try experimenting with your aperture to also adjust the amount of light exposing the frame. Remember, the lower the number, the wider your aperture, so an f5.6 is wide open and will quickly expose the frame to a lot of light. That wide-open aperture will also give you a very shallow depth of field, blurring both the background and foreground. An aperture of f22, on the other hand, only lets a fraction of the same light in, but gives you a much wider depth of field, so most of the frame will be in focus.
Recommended Settings for Deer and Elk
For deer and elk, unless you have a telephoto lens between 300-600mm or more for close-up detail, you’ll want a medium aperture so the body of the animal is in focus. If you can adjust the ISO up without getting too grainy, you can keep your shutter speed high, as well, minimizing blur. Before you encounter your subject, take a series of sample shots using rocks or trees in different light (direct, diffused, etc.) to figure out what combinations will work best in your current light conditions. This will minimize frustration when a large elk bounds into the frame and you want to focus on composition and not what aperture and shutter speed combinations will work best.


