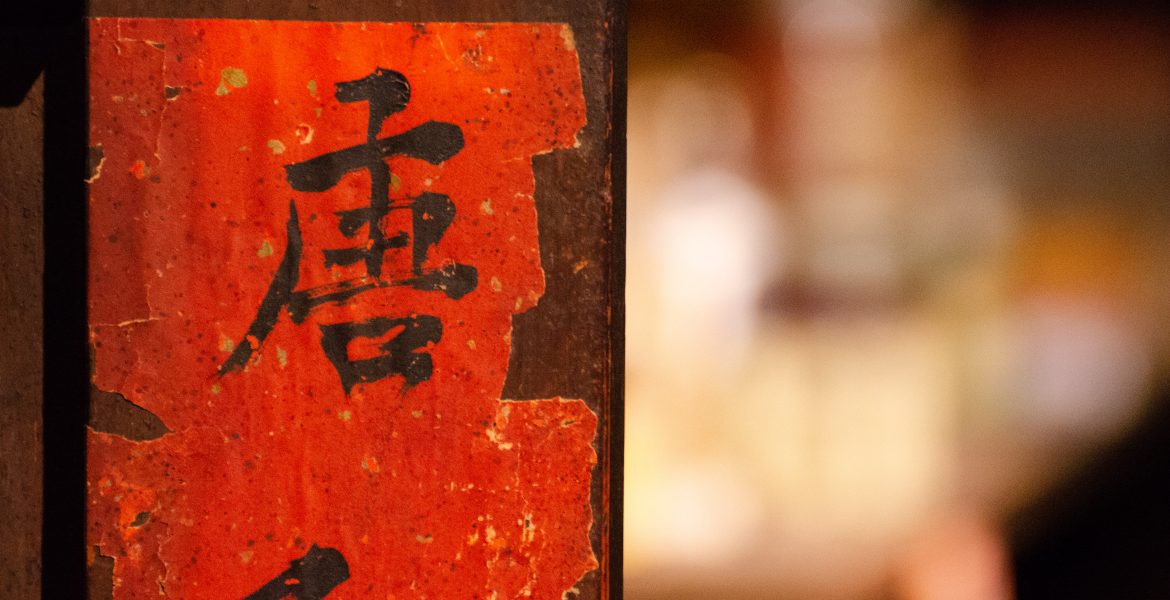
High Resolution Images: Kam Wah Chung Artifacts
Free Stock PhotosContents of this Post
High Resolution Images: Free Stock Photos for Photographers, Bloggers, and Designers
Select the button below any image below to view free, downloadable high resolution images for free use on your website, blog, print or digital media, or other project.
Copyright & Credit: Kam Wah Chung & Company Artifacts
How to Credit
All images are property of Mod Fam Global LLC and offered for private and commercial use, free of charge. Please credit Mod Fam Global, LLC, https://modfam.global/ for any public, online, or print materials using our images.
Send us a Note
If you use any of our free high resolution images of Kam Wah Chung & Company for online or commercial use, please send us a note and let us know how you used the photos. We love to see how our photography is being used, and we appreciate photo credit and links back to our site.
Photography Tutorial: How to Photograph High Resolution Historical Images
Manual Settings – Aperture & Shutter Speed
If you photograph artifacts in a museum or other building like Kam Wah Chung & Co., you’ll probably encounter low light conditions. That’s why opening your aperture and slowing your shutter speed to allow more light in will help capture crisp, bright images like these. Using a wide aperture (a low f-stop) like f4.5 or f5.6 will let the most light in for faster exposure of the image. Combine that with a slower shutter speed of 1/60 or 1/50 of one second, and you’ll be close to getting great low-light shots. (Another element to consider, ISO, is the subject of the section below). Any slower, and you won’t be able to avoid blurring the photo, unless you use a tripod or brace the camera against a post or wall or other fixed object.
Image Composition and Framing
In small, confined spaces, I like to use the surrounding objects to blur our part of the photo or create a sense of scale or size. In many of these shots, for example, I don’t try to crop everything out of the frame. I actually try to incorporate surrounding objects, light, and color for effect. This gives more context to the object or objects at the center of my composition.

Manual Settings – ISO
ISO is the other manual setting you’ll want to adjust for low light conditions in museums or for indoor artifacts. D-SLR cameras have exponentially increased the ISO sensitivity of camera sensors, so you can ramp up the ISO to allow more light to expose more quickly. But the more quickly light exposes, the messier the photo. That means you’ll get more visual “noise” and grain at higher ISOs. Try to balance an ISO high enough to expose the light you need but low enough to reduce as much noise as possible. The lens you select will also impact the final image. This is not only because of the focal length and “zoom” of the lens. Each lens has a different range for aperture settings, and higher quality lenses allow for wider apertures (and more light).
Manual Settings – Lenses
For these images, I used a combination of wide-angle and telephoto lenses to get close-up detail and wider angle shots that show more context. Try to decide what type of photo you’re trying to create, and then select the appropriate lens, instead of taking whatever you can get with just one lens or focal length. Newer lenses also have wider ranges, sometimes from a basic wide angle around 18-20mm to as much as 300mm or more. Vibration reduction or other image stabilization features make low-light shots even easier to capture at lower shutter speeds, too.




[…] Kam Wah Chung Artifacts […]