Image Bank: Coastal Landscapes
Free Stock PhotosContents of this Post
Image Bank: Free Stock Photos for Photographers, Bloggers, and Designers
Select the button below any image below to view a free, downloadable image bank stock photo for free use on your website, blog, print or digital media, or other project.
Copyright and Credit: Coastal Landscapes
How to Credit
All images are property of Mod Fam Global LLC and offered for private and commercial use, free of charge. Please credit Mod Fam Global, LLC, https://modfam.global/ for any public, online, or print materials using our images.
Send us a Note
If you use any of our free image bank stock images of coastal landscapes for online or commercial use, please send us a note and let us know how you used the photos. We love to see how our photography is being used, and we appreciate photo credit and links back to our site.
Image Bank Photography Tutorial: How to Photograph Coastal Landscapes
Manual Settings – ISO
ISO refers to the light sensitivity of film or a digital sensor. The higher the ISO, the more sensitive to light, and the faster you can expose film (or its digital equivalent). Digital camera manufacturers have exponentially increased ISO ranges for D-SLRs. This means you can take hand-held photos in light conditions that were simply not possible without a tripod. But the higher the ISO, the more grain and visual “noise” you’ll get in the image. I prefer to keep my ISO as low as possible, using higher ISO settings only when absolutely necessary. For bright outdoor light like the photos below, an ISO in the range of ISO200 to ISO800 should do just fine. For lower light or cloudy days, a slightly higher ISO1600 or ISO2000 may work better with your aperture and shutter speed.
Manual Settings – Shutter Speed
Once you’ve set your ISO for light conditions, you’ll need to balance your shutter speed and aperture. You can start with either one and then adjust the other. Shutter speed is just that: how fast or slow the shutter is open and exposing light on your film or sensor. On a bright sunny day at ISO400, a faster shutter speed around 1/500 or even 1/1000 of a second will be a good place to start. Keep in mind that aperture settings and filters will impact shutter speed, so that is just a starting point. Experiment a bit with shutter speed. If your image is too bright or the highlights blown out, increase the shutter speed to take a faster image. Is your image too dark and the shadows obscuring detail? Slow the shutter speed a few notches.
Manual Settings – Aperture Basics
Aperture controls the size of the opening of the lens. A smaller f-stop or aperture number correlates with a larger opening. So f4.5 is wide open, letting lots of light in quickly. But f22 is a tiny opening, taking longer to expose because much less light is getting into the camera. But aperture does not only affect light exposure. It also impacts focus and depth of field. F4.5 will give you a very narrow depth of field, with most of the foreground and background blurred out with bokeh effects. F22, on the other hand, expands the depth of field, so almost all of the image will be in focus.
Manual Settings – Aperture and Depth of Field
Think of aperture as working in opposites. The larger the number (f-stop), the smaller the aperture. And the smaller the f-stop, the wider the aperture. Also, as the aperture opens up, the depth of field narrows, and vice versa. So as you narrow the aperture from f4.5 to f22, the focus area of your image expands, keeping more and more of your subject – or landscape – in focus.
Pro Tip – Polarizing Filters
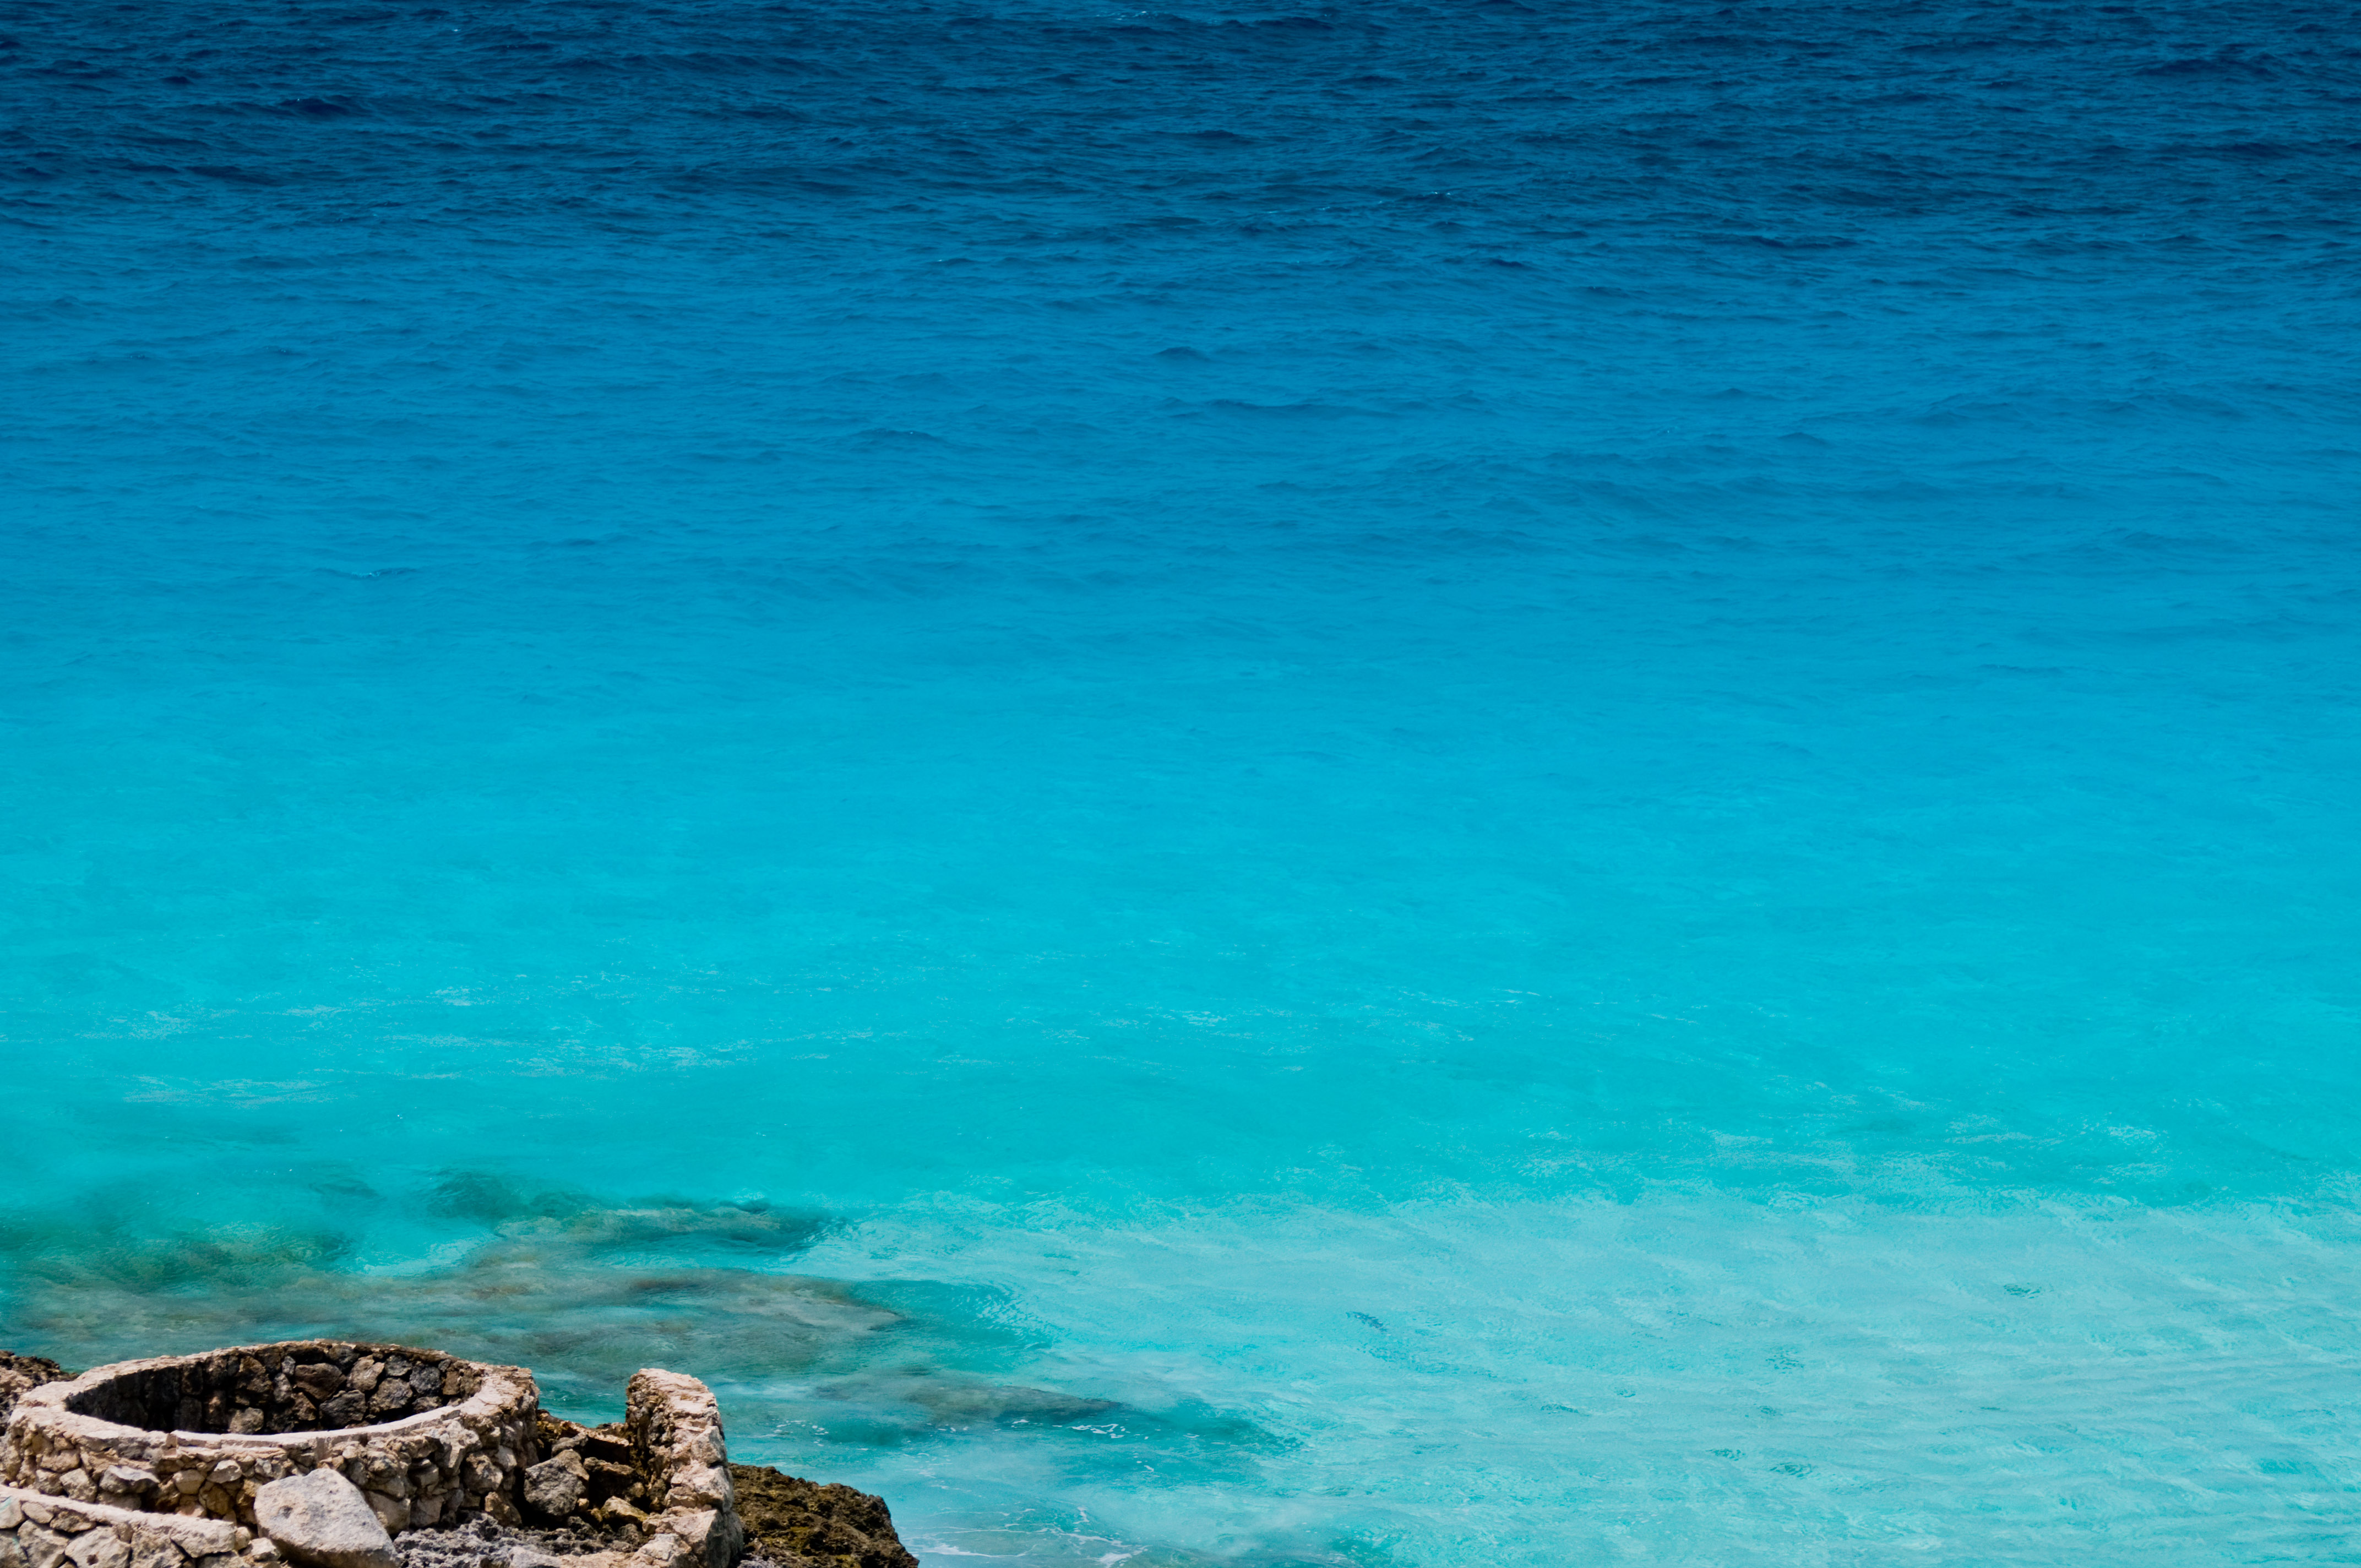
Polarizing filters are my favorite piece of auxiliary equipment. They darken skies and water, and turn a glassy, reflective surface transparent. Polarizing filters remove or cut through polarized light in the sky and reflective surfaces. That’s what gives some of these images a rich, dark blue sky. It’s also why you can see right through the water in other photos. Sometimes you may want a reflection to show in your image. You can use a polarizer to maximize reflection, too. Just rotate the filter while looking through the camera to see the effect the polarizer will have on your image.
Lenses for Photographing Coastal Landscapes
I always take a variety of lenses with me, because I never know exactly what I may find. My preferred lenses are a 10-20mm wide angle, a 20-300mm telephoto, and a 200-600mm telephoto lens. This gives me the full range from 10mm to 600mm with three lenses. I have other macro lenses and combinations, but these three are my favorites. Ultimately, it is your shot, though, and you can use your lenses and other equipment to stage and photograph the type of shot you want to create.
Lens Effects
Take the rusting metal in the image below, for example. I could have used a wide angle to show more of the turquoise water and capture the objects more in context. Instead, I used a 300mm telephoto lens with a wide aperture to focus just on the one wheel while creating a nice bokeh effect behind and in front of the rusty steel. This not only blurs out the foreground and background. It also appears to compress the subject and pull it in toward the viewer. Using that particular lens gives the image a sense of depth and texture that would be lacking in a wide-angle shot. On the other hand, a wide-angle shot here would create a dramatic landscape. It would reveal the surrounding beach, expansive colors of the sky and sea, and reduce the size of the rusted metal objects in the foreground.
Pro Tip – Putting it all Together
The key to taking gorgeous coastal landscape photos is flexibility and creativity. Don’t go expecting to get just one, specific photo. Keep an open mind, and adapt to the conditions, the subject matter, and the unique features of the landscape. Bring a variety of lenses and equipment so you can adapt and create unique, beautiful images that respond to the physical landscape. Don’t try to force your images to look and feel a certain way, because you’ll inevitably be disappointed when light conditions change or weather shifts or some other variable out of your control occurs. One of the things I love the most about outdoor nature photography is the creativity it takes to really observe and then capture beautiful landscapes on film.


