Western Wallpaper: Jackson, Wyoming Antler Arch Stock Photo Downloads
Free Stock PhotosContents of this Post
Western Wallpaper: Free Stock Photos for Photographers, Bloggers, and Designers
Select the button below any image below to view a free, downloadable Western Wallpaper image for free use on your website, blog, print or digital media, or other project.
Copyright and Credit: Jackson, Wyoming Antler Arch Stock Photo Downloads
How to Credit
All Western Wallpaper images are property of Mod Fam Global LLC and offered for private and commercial use, free of charge. Please credit Mod Fam Global, LLC, https://modfam.global/ for any public, online, or print materials using our images.
Send us a Note
If you use any of our free Jackson, Wyoming Antler Arch Western Wallpaper images for online or commercial use, please send us a note and let us know how you used the photos. We love to see how our photography is being used, and we appreciate photo credit and links back to our site.
Western Wallpaper Photography Tutorial: How to Photograph Iconic Landmarks
Creating a Unique Perspective and Composition
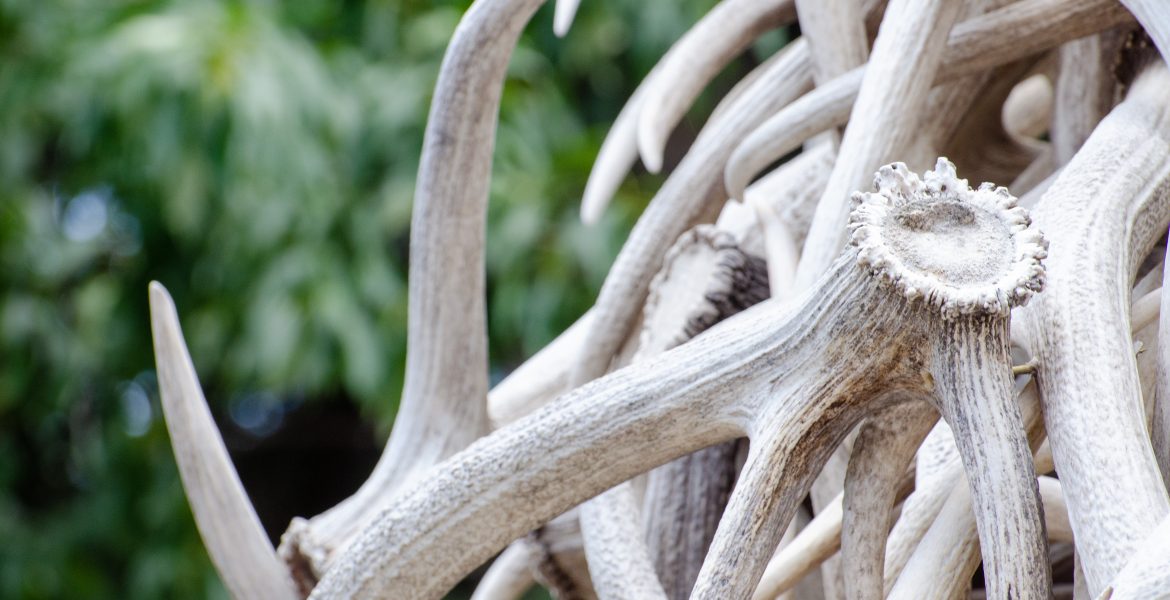
The hardest part about photographing iconic landmarks like the Jackson, Wyoming Antler Arches is getting a fresh, unique image that doesn’t look like every other photo out there. Your unique perspective and photo composition make all the difference. Take the images below, for example. The telephoto lens creates a fantastic bokeh effect, blurring the background. And the angles and curves of the antlers draw the eye into the frame, because there is a lot to look at. And yet the image is not overly busy.
The Power of Perspective and Composition
That’s the power of perspective and composition. You can take a familiar icon or landmark and turn it into something unique, fresh, and new. Experiment with focus, direction, angles, and overall photo composition. Start with that famous shot composition, but then get closer and really take a look at the features of your subject. How can you frame the photo to create something unique and original?
Manual ISO Settings for Western Wallpaper
ISO simply refers to your film or digital sensor’s sensitivity to light. As the ISO increases, so does the sensitivity. So ISO100 is not very sensitive, and takes longer to expose. ISO2500 and higher is very sensitive, and makes it possible to photograph in much lower light. D-SLR manufacturers have exponentially increased the range of ISO, so you can select ISO in the tens of thousands. But here is the tradeoff: higher ISO is more grainy and creates a lot of visual “noise.” Sometimes, you may need to use higher ISO in very low light or for artistic effect. In many cases, though, it’s better to use the lowest ISO possible if you are trying to create a clear, crisp image with minimal grain and noise.
Choosing ISO Settings for Iconic Landmarks
When photographing the Antler Arches or other outdoor landmarks in bright light, you can generally use a low ISO setting. For indoor or dimly lit subjects, increase your ISO, but just know that you’ll have more visible grain and noise.
Manual Aperture Settings for Western Wallpaper
Aperture or “f-stop” controls the size of the lens opening. That relates directly to how much light exposes the image, and how quickly. But aperture is also related to focus and depth of field. Take the image below, for example. Notice that the back portion of the arch is out of focus, with a slight bokeh effect. The front part of the arch is in focus, even though the image is backed off a bit. That’s because I used a medium aperture around f9 to narrow the focus area or depth of field. The wider the aperture (and the smaller the f-stop), the narrower the depth of field. That means that at f4.5 (a wide open aperture), you’ll have a very shallow focus area. At f22 (a very small aperture), you’ll have a wide focus area, and most of the photo will be in focus.
Selecting Aperture Settings for Iconic Landmarks
For Western Wallpaper images of iconic landmarks, choose an aperture based on the type of focus area or depth of field you’d like to create. Next, you can adjust your shutter speed accordingly.
Manual Shutter Speed Settings for Western Wallpaper
Once you’ve set your ISO and aperture, it’s time to balance that out with your shutter speed. In bright light at ISO400 and f9, for example, start around 1/400 of a second for your shutter speed. Then, take a look at the result and adjust up or down from there. Is your image too dark? Are the details lost in shadow? Then slow your shutter speed to 1/250 or 1/60 of a second to expose more light and reveal more detail. Is your image too bright and overexposed? Are the highlights blown out, erasing detail in the bright parts of the photo? Then increase shutter speed to limit the light exposed.
Selecting Shutter Speed Settings for Iconic Landmarks
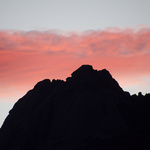
You can use shutter speed to create the type of image you want, and sometimes you may want a dark, moody image or one that overexposes the sky or background. But it’s important to know how to use this and other settings to create the image you want to photograph. In many of these images, portions of the bleached white antlers are overexposed. I did that intentionally, in order to show more of the details in the shadows between the antlers. Other shots reveal more detail in the sky and clouds beyond, and the antlers are dark and do not reveal much detail. This is also intentional, and a way to emphasize different elements within the frame. Ultimately, you are the creator of your photograph. Use your manual settings to create the photo that you have in mind!


