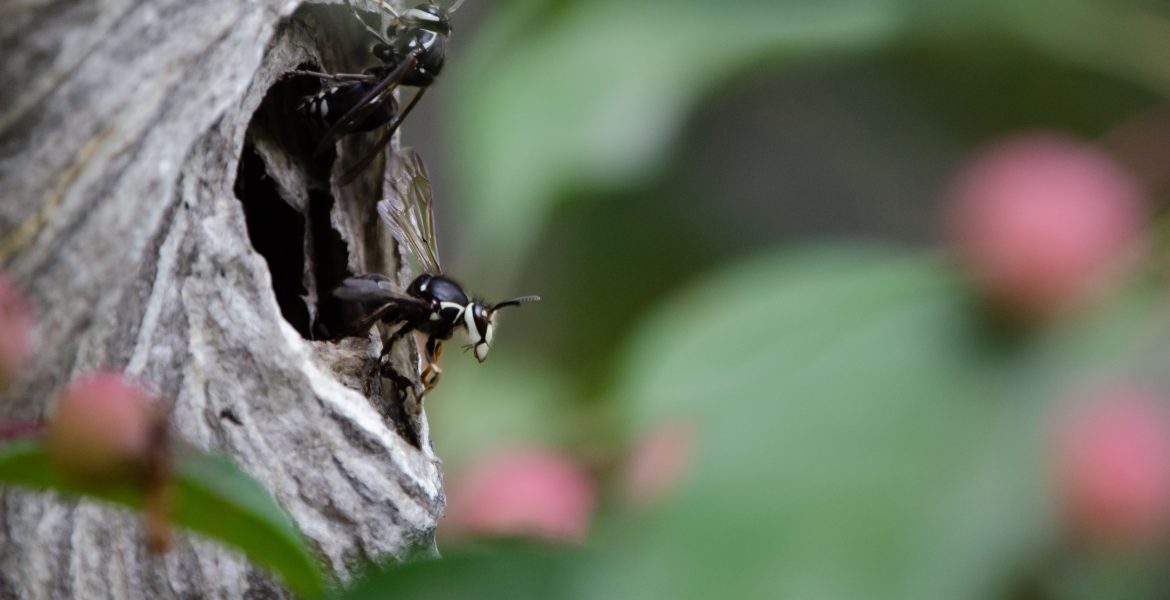
Hornet Images – Black Wasps, Bees, and Other Insects
Free Stock PhotosContents of this Post
Black Wasps, Bees, and Other Insects: Free Stock Photos for Photographers, Bloggers, and Designers
Click the button below any image below to view a free, downloadable stock image for free use on your website, blog, print or digital media, or other project.
Copyright and Credit: Black Wasps, Bees, and Other Insects
How to Credit
All images are property of Mod Fam Global LLC and offered for private and commercial use, free of charge. Please credit Mod Fam Global, LLC, https://modfam.global/ for any public, online, or print materials using our images.
Send us a Note
If you use any of our free black wasp, bee, and other insect stock images for online or commercial use, please send us a note and let us know how you used the photos. We love to see how our photography is being used, and we appreciate photo credit and links back to our site.
Photography Tutorial: How to Photograph Black Wasps, Bees, and Other Small Insects
Getting Started Photographing Insects
Photographing small, fast moving insects can be challenging, especially if you haven’t thought through your manual setting prior to getting out in the field. Before you try to adjust all of your settings at the last second next to a swarming bee hive or wasp nest, try some of our recommended settings and save yourself a sting or two.
Manual Settings – Understanding ISO
Start with your ISO. ISO measures light sensitivity on film or a digital sensor, with similar effects. The lower your ISO, the less sensitive your sensor or film will be to light. This requires more time to expose the image, but also results in less visual noise and grain in the image. Conversely, the higher your ISO, the more sensitive your sensor or film will be to light. That means you can capture an image more quickly, with less time to expose the image. The trade-off, though, means that you’ll have more noise, grain, and a less crisp final image.
Manual Settings – Choosing the best Insect ISO (IISO)
Given the speed of flying, jumping, and crawling insects, you’ll want to balance a higher ISO for speed with something that doesn’t ruin the image with noise and grain. Digital cameras today have extremely wide ISO ranges. Camera manufacturers have also greatly improved the ability of the sensor to capture a crisp image, even at higher ISOs. But start around ISO1000 or ISO1600 and adjust up or down from there. I prefer to get a more crisp image under ISO2000 rather than dealing with a grainy, noisy image. On the other hand, creating a dark, nighttime image with lots of grain can create a visually stunning image. In the end, the ISO you choose should reflect the type of artistic image you’re trying to create.
Manual Settings – Shutter Speed
When photographing insects, a faster shutter speed is almost always better to capture a crisp image. Some wing blur or motion is unavoidable, but you can minimize motion by selecting the highest possible shutter speed for your light conditions. You’ll have to adjust your shutter speed down if you lower your ISO, use a polarizing filter, or select a more narrow aperture. The goal with each of these manual camera settings, though, is to maximize the speed of your camera and exposure of the image.
Manual Settings – Fine Tuning Shutter Speed
The faster your shutter speed and ISO, the less visible motion you’ll capture in your image. But be careful, because you always want to balance the light exposure in your image to avoid post-processing “fixes” to your images. The better you get at combining settings in camera, the better your images will be, straight out of the camera. Think of shutter speed on a spectrum that has to be balanced with ISO and aperture. All three settings need to be adjusted for a good balance of exposed light. Keep in mind, though, that you choose what type of image you are trying to create. So if you want a darker, moody image, you can adjust your shutter speed or ISO and aperture to create that effect. If you want a bright, cheery image, you can adjust your settings for that effect. But to start with, a higher shutter speed will generally be the best way to photograph wasps, bees, and other insects.
Manual Settings – Aperture
Aperture (f-stop numbers) and the size of the aperture have an inverse relationship. That means the higher the number (f29, f32), the smaller the opening or aperture. So f4.5 or f5.6 are small numbers but large aperture openings. We’ve already talked about trying to maximize light and the speed of your exposure for fast-moving insects. Consistent with that, you can let more light in more quickly with a lower f-stop or wider aperture.
Manual Settings – Aperture and Depth of Field
Just be careful, because aperture is also related to depth of field, and it’s easy to blur out your subject with wide apertures. An aperture around f7.1 or f9 will ensure all of your subject is in focus but still provide a good amount of light with a wider aperture. For some of my photos, I use f4.5 or f5.6 to blur out as much of the foreground and background as possible. If you do that, just make sure you’ve focused on the insect or range of the photo you want to have in focus. Depth of field is also affected by the lens you use. Keep reading below for more on lenses and bokeh effects.
Manual Settings – Lenses and Bokeh Effects
Now that you’ve thought about light and combinations of ISO, aperture, and shutter speed, let’s talk lenses and bokeh effects. Bokeh is the blurry background effect you see in the images below. I took most of the images here of hornets, wasps, and bees with lenses with focal lengths of 300-600mm. Using a telephoto lens will basically bring your subject closer to you, in focus, while more effectively blurring the foreground and background. That blur, or bokeh, gives these butterfly images a soft, ethereal look and feel. As you can see in the second image below, I’ve used a very narrow depth of field by setting my aperture to f4.5. This blurs out the back of the butterfly, drawing the viewer’s eye forward, toward the insect’s head and the flower.
Manual Settings – Putting it all Together
Start with light and the combination of ISO, aperture, and shutter speed. Once you dial in a good combination of those three, focus on focus. Try lenses of differing focal lengths to experiment with bokeh and depth of field. Macro lenses are great for close-up images, but it can be hard to get close enough to an insect with a macro lens. That’s why I prefer a telephoto lens, even for these small insect subjects.


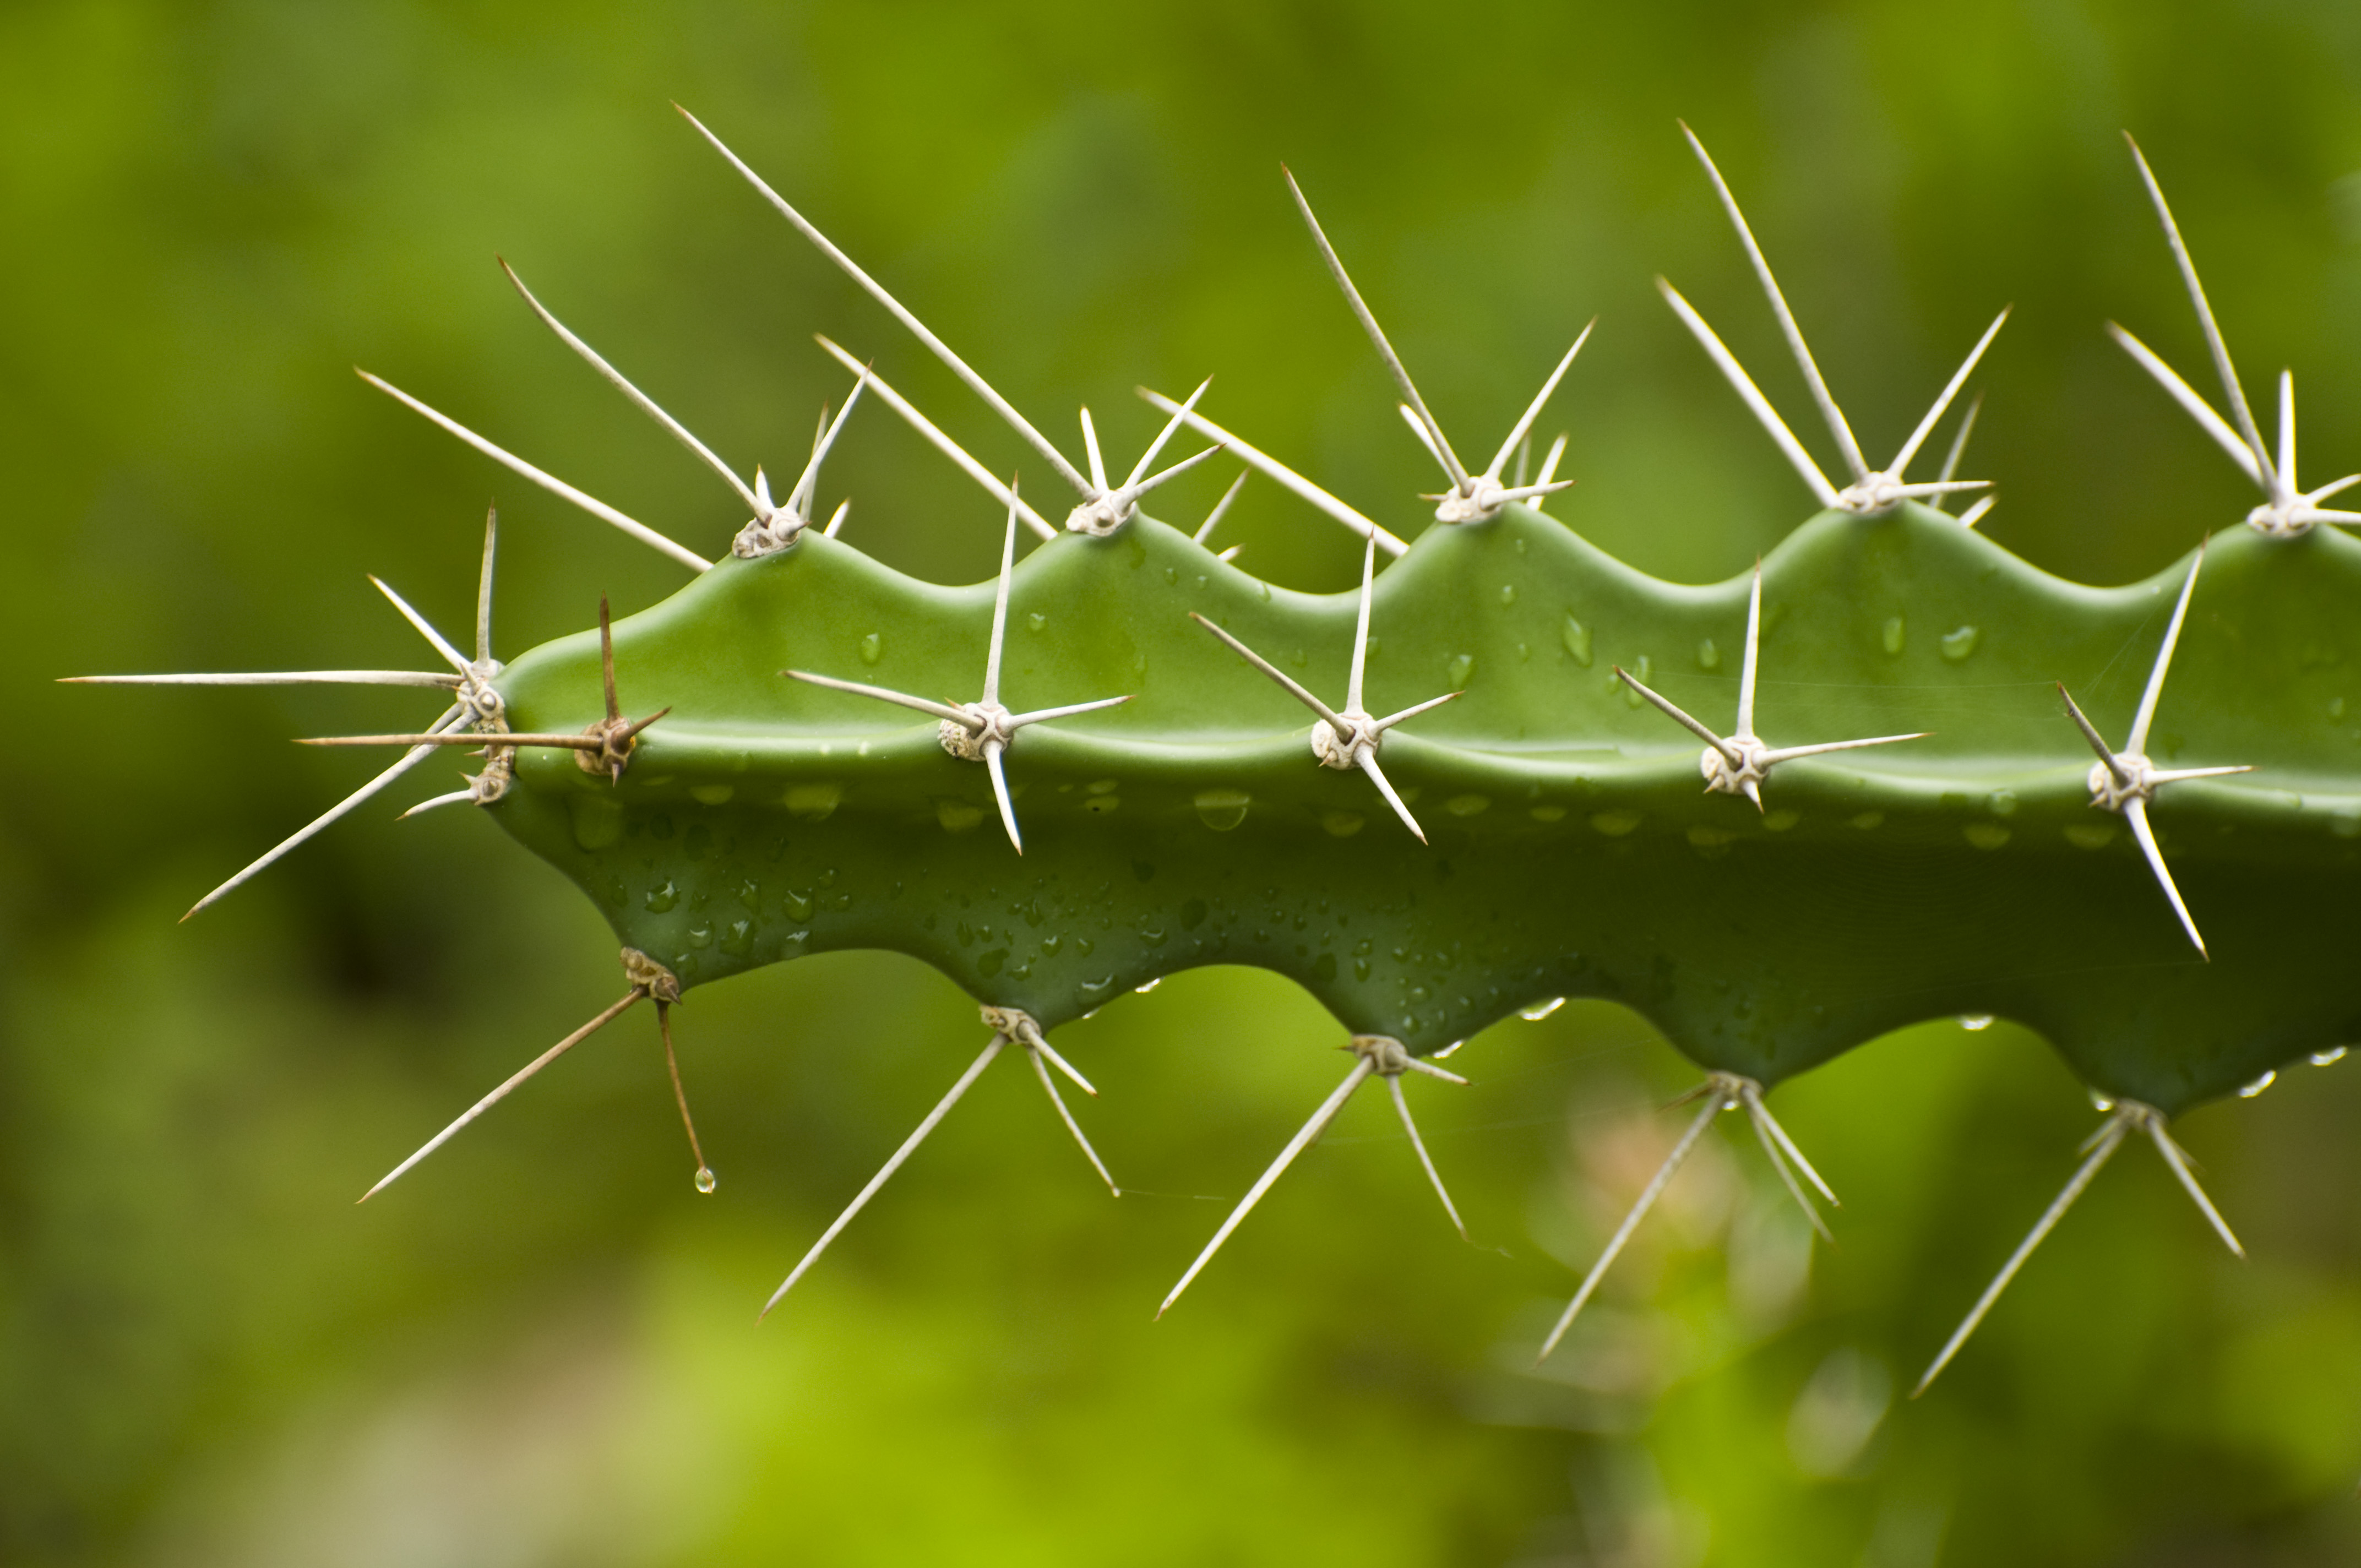



All pictures are very nice and are clicked perfectly. Weldone:)
What beautiful photos! You are very skilled.