Sweet Background: Piers and Docks Free Stock Photos
Free Stock PhotosContents of this Post
Sweet Background: Free Stock Photos for Photographers, Bloggers, and Designers
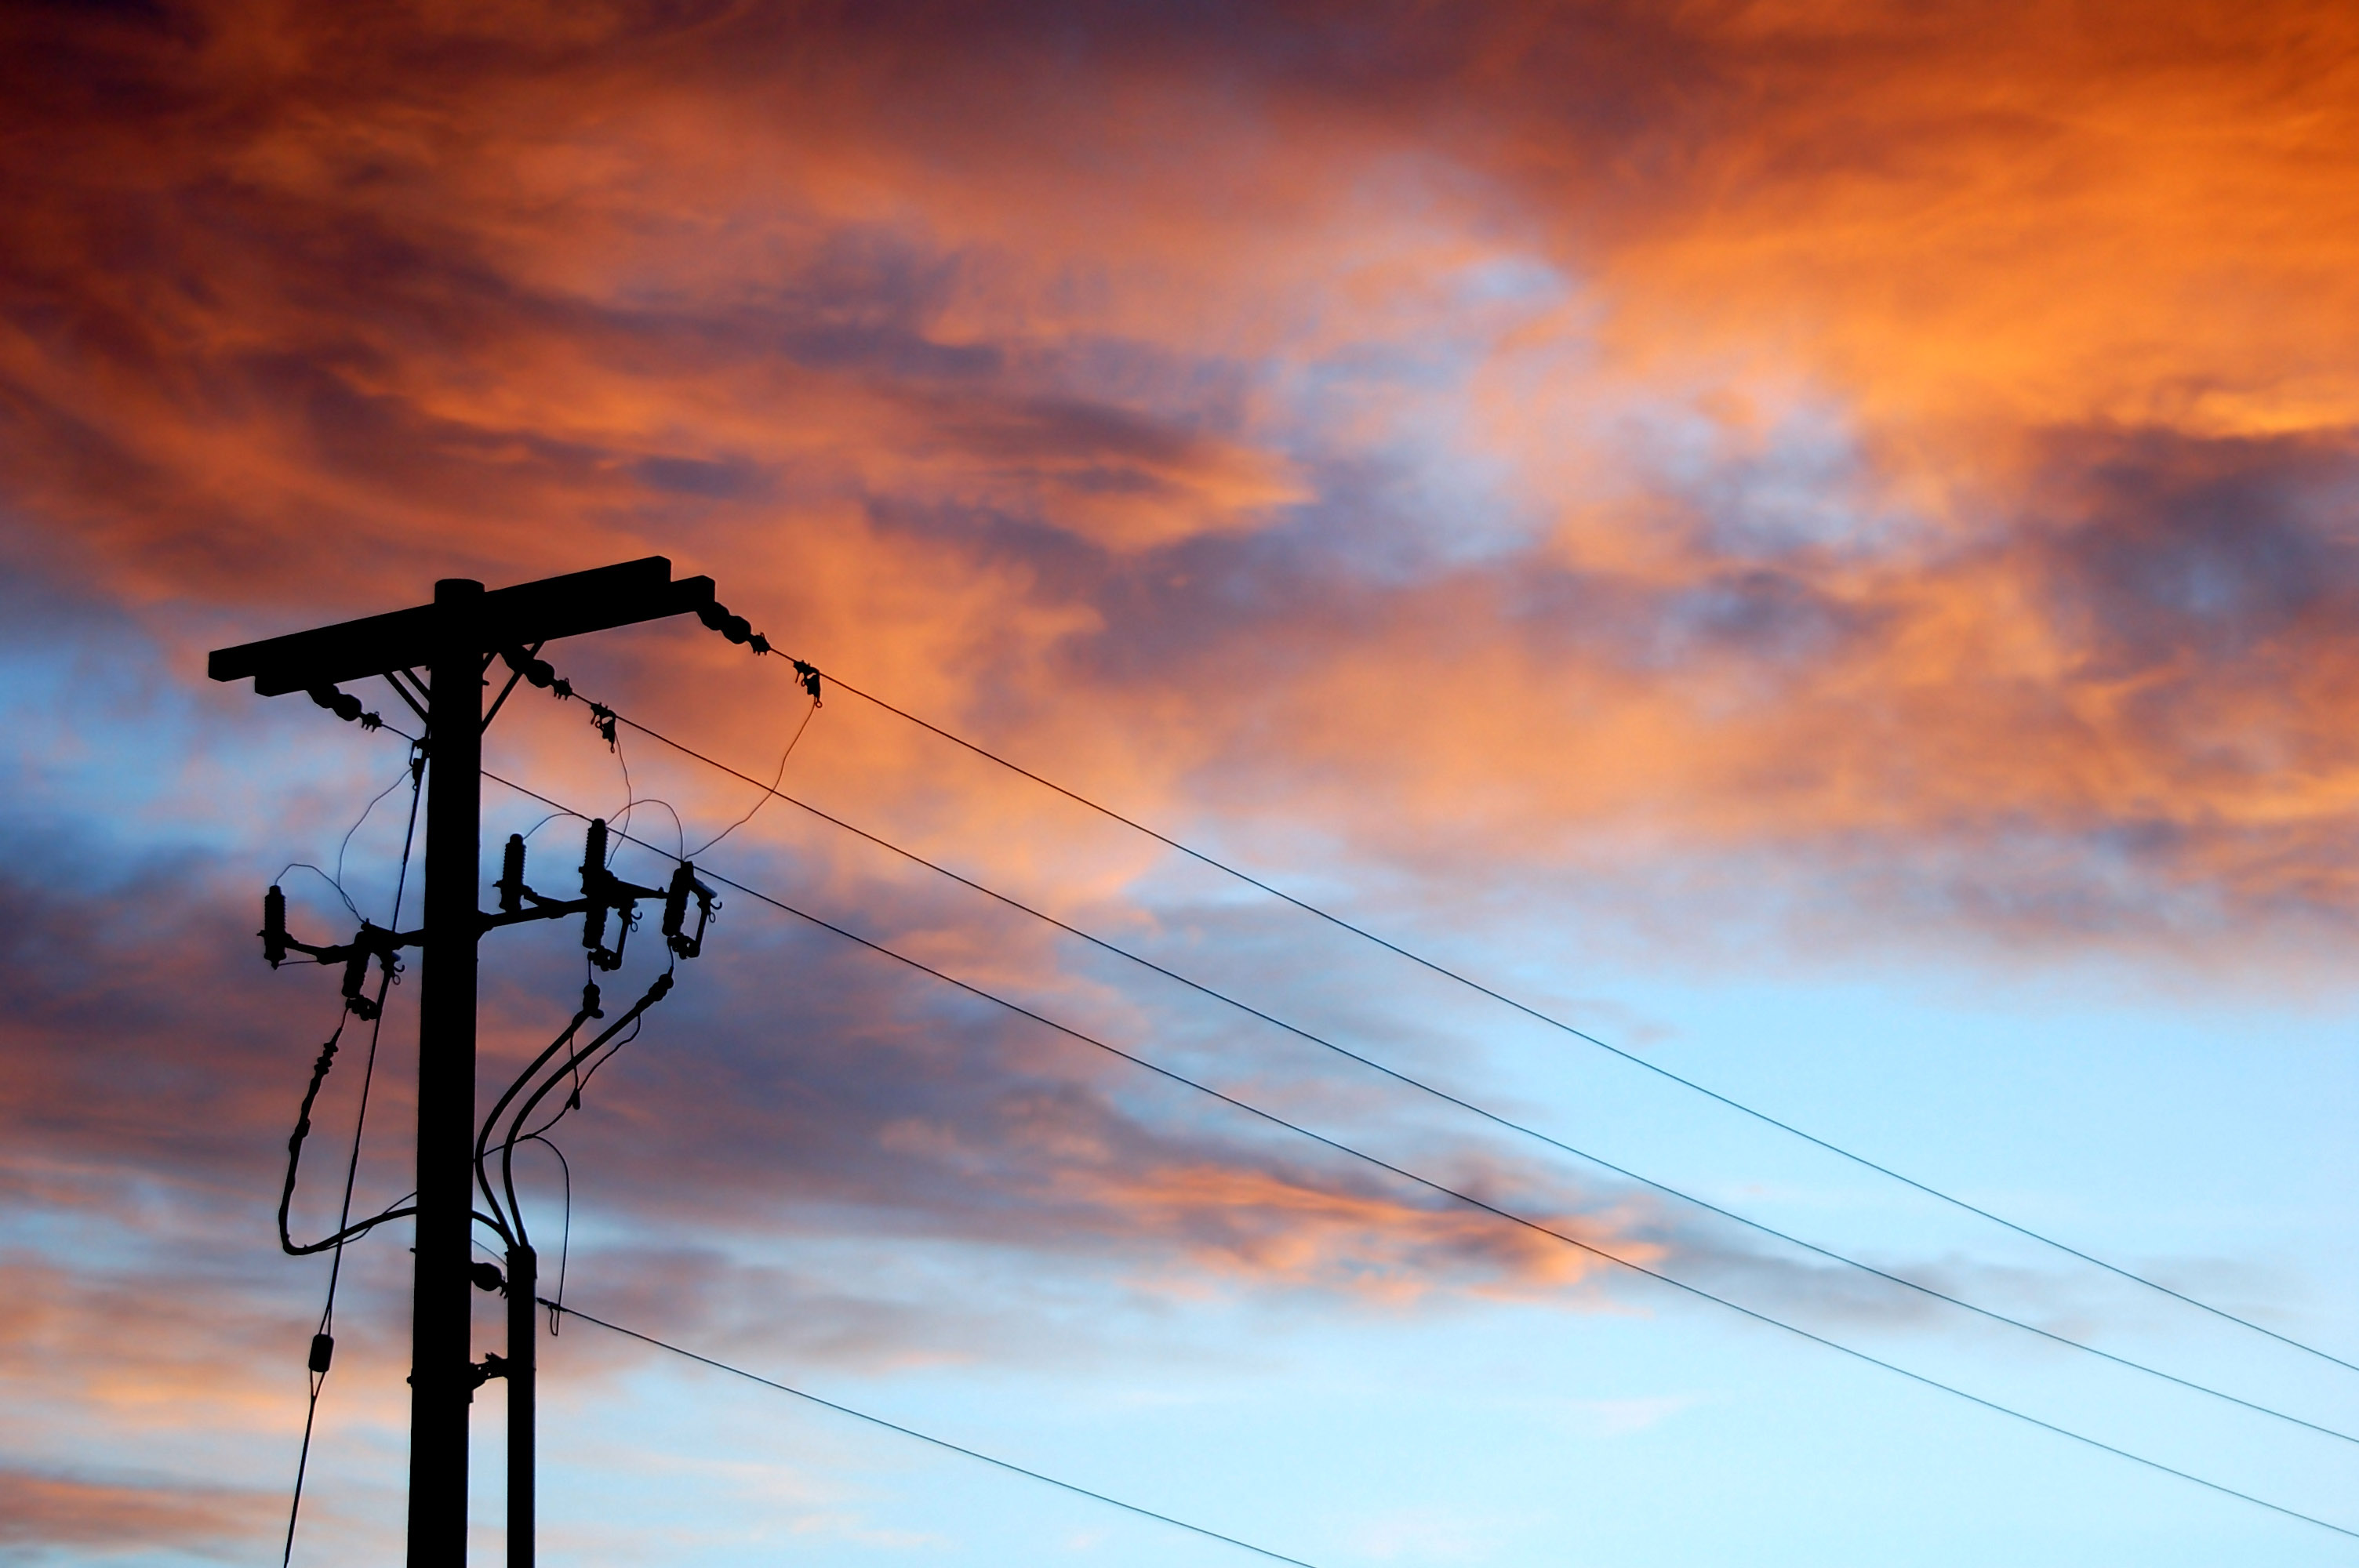
Select the button below any sweet background image below to view a free, downloadable stock image for free use on your website, blog, print or digital media, or other project.
Copyright and Credit: Piers and Docks
How to Credit
All images are property of Mod Fam Global LLC and offered for private and commercial use, free of charge. Please credit Mod Fam Global, LLC, https://modfam.global/ for any public, online, or print materials using our images.
Send us a Note
If you use any of our free sweet background stock images for online or commercial use, please send us a note and let us know how you used the photos. We love to see how our photography is being used, and we appreciate photo credit and links back to our site.
Sweet Background Photography Tutorial: How to Photograph Piers and Docks
Manual Settings – ISO
ISO simply refers to the light sensitivity of your film or digital sensor. With a higher ISO, your film or sensor will be more sensitive to light, allowing the image to expose more quickly. But there’s a tradeoff, too. Faster exposure creates a grainier image with more visual “noise.” D-SLR camera manufacturers have exponentially increased ISO range, compared with film cameras. That means you can shoot in much lower light with faster shutter speeds. I still try to use the lowest ISO possible for most stock photography, unless I’m trying to create an intentionally grainy image for effect.
Manual Settings – Recommended ISO
When photographing stationary objects like docks and piers, speed is not essential. This is true especially if you are using a tripod to photograph. Unlike photos of animals or other moving subjects, docks and piers won’t move much during your photo session! So you can use a lower ISO, as low as ISO100 or ISO200, to create a crisp, colorful image without all the noise. In lower light conditions, you can increase your ISO, but always be thinking about the balance between speed or light exposure and the noisy pixels you’ll get at higher ISOs.
Manual Settings – Aperture
Aperture refers to the size of the lens opening. This is also known as f-stop. Smaller f-stops open the aperture wider, while larger numerical f-stops close the aperture down. So f4.5 is wide open, allowing tons of light in quickly to expose your image. But f22 is a very small aperture, which takes longer to expose. Wide open aperture will also narrow the depth of field or focus area. That means shooting at f5.6 will blur out most of the background and foreground. But using a smaller aperture of f32 will ensure that most or all of the frame will be in focus.
Manual Settings – Recommended Aperture
When shooting stationary objects like piers and docks, be creative and experiment with different aperture and shutter speed combinations for different effects. Use a wide aperture like f4.5 or f5.6 to focus in on small details and create a blurred bokeh effect in your image. Or, try a small aperture like f16 or f22 for wide angle shots that show more of the surrounding landscape. In the next section below, I’ll talk more about shutter speed. You’ll want to use shutter speed to compensate for whatever aperture you select, because the two work together to expose your image. As you increase the aperture size, for example using f5.6 or f4.5, you’ll need to speed up the shutter because more light is coming in. Alternatively, when using f22, you’ll have to slow down the shutter speed significantly to let more light in over a longer period of time.
Manual Settings – Shutter Speed
Shutter speed and aperture work together to control the amount of light exposing your image. Auto settings will balance these two settings to give you an “average” exposure, based on the light in the full frame. To adjust shutter speed manually, I recommend setting your desired aperture and then experiment with shutter speed until you get the image you want to create. If the image is too bright and blown out, you may need to speed up your shutter. If details are lost in an overly dark image, reduce your shutter speed. Using automatic metering or your camera’s auto setting will give you an idea of a starting point for aperture and shutter speed, based on real-time light conditions. But then you can adjust these settings up or down to create the image you are trying to photograph.


