High Res Photos of Cacti
Free Stock PhotosContents of this Post
High Res Photos of Cacti: Free Stock Photos for Photographers, Bloggers, and Designers
High Res Photos of Cacti. Select the button below any image below to view free, downloadable high res Cacti photos for free use on your website, blog, print or digital media, or other project.
Copyright and Credit: High Res Cacti Photos
How to Credit
All High Res Photos of Cacti are property of Mod Fam Global LLC and offered for private and commercial use, free of charge. Please credit Mod Fam Global, LLC, https://modfam.global/ for any public, online, or print materials using our images.
Send us a Note
If you use any of our free high res photos of cacti for online or commercial use, please send us a note and let us know how you used the photos. We love to see how our photography is being used, and we appreciate photo credit and links back to our site.
High Res Photos of Cacti – Photography Tutorial
Manual Camera Settings – Aperture
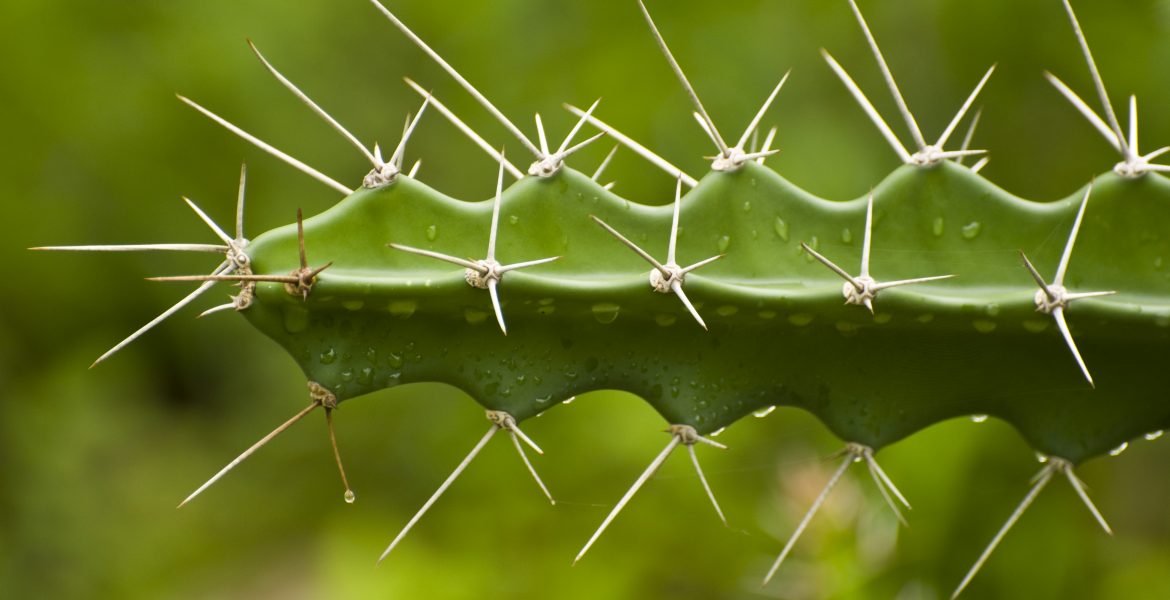
Aperture works together with shutter speed and ISO to control the amount of light that exposes your film or digital sensor. Aperture also controls the depth of field or focus area in your image. The lower the f-stop (aperture), the wider the aperture. But a low f-stop will also narrow the depth of field, giving you the focus area of the photo below, for example. By using f4.5 or f5.6, you can get a very narrow focus area, which creates a blurred background and foreground. And that is what you call bokeh effect. As the aperture narrows and the f-stop increases, so, too, will the depth of field.
Manual Camera Settings – Shutter Speed
Shutter speed is exactly what it sounds, the speed at which your shutter opens and closes. And it works together with aperture to control the amount of light exposing your image. When shooting cacti in full, bright sun, you can speed up your shutter so that you don’t over expose the image. In the image below, for example, I used a fast shutter speed with a low aperture to both narrow the depth of field and not overexpose. I reduced the shutter speed slightly, though, to give the final image a bright, airy look. Start with the camera’s auto setting if you’re not sure what combination to use. Then you can adjust your shutter speed up or down, depending on the image you want to create.
Manual Camera Settings – ISO
ISO refers to the light sensitivity of your camera’s film or digital sensor. A higher ISO is more sensitive to light, so you can expose an image faster. But when you expose faster, the image is less crisp and clear. That means you’ll see more pixelation or visual noise and grain in the image. When shooting non-moving subjects like cacti, it’s easier to use a lower ISO. This is especially true in cactus-growing climates where you frequently have full, bright sun. If you want to create a grainy image for artistic effect, you’ll have to compensate with your other settings. But you can use a higher ISO to do that.


